This design can be adapted to match the theme and colour scheme of the wedding or for any other special celebration.
Step 16
Step 19
You will need the following supplies and equipment before you begin;
- A4 card stock, 1 sheet for the outer cover and 1 sheet of your contrast colour for each invitation
- Matching paper for the printed sections of your invitation, you will be able to print more than one invitation on these so you won’t need as many.
- A score board that has 5mm increments such as the Hougie or Big Score from Crafters companion.
- A scoring tool and bone folder.
- A guillotine – not essential but it does give a more professional finish and allows for exact measuring.
- PVA glue or double sided adhesive tape.
- Scissors
Step One
- Cut your chosen card for the outer cover to 21cm square (an exact square is important). I used double sided pearlescent card approx. 300gsm.
- Align your card to form a diamond in the centre of your scoreboard lining the top and bottom corners with the score channel marked 15 cm.
- Holding the card securely in place, score down in the 8cm and 22cm channels. Tip; I used small pieces of tape to mark my score board to make sure I use the right channels.
- Rotate your card 90 degrees and repeat (see picture below). This will be the right side of your finished project.
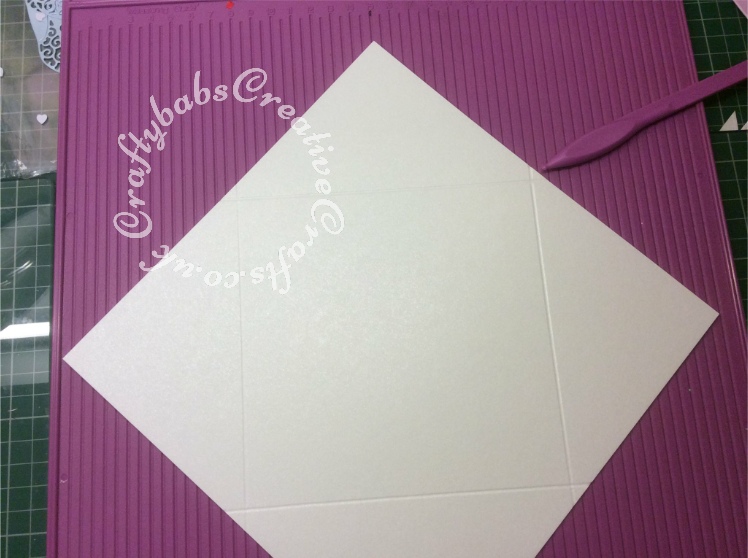
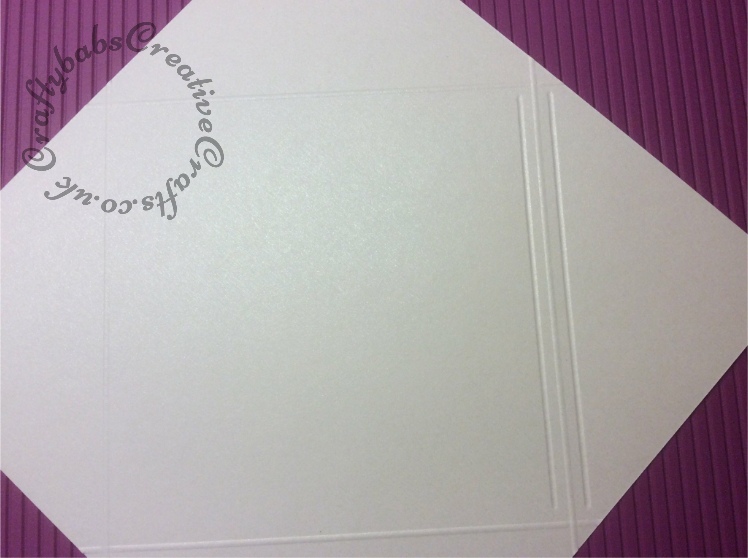
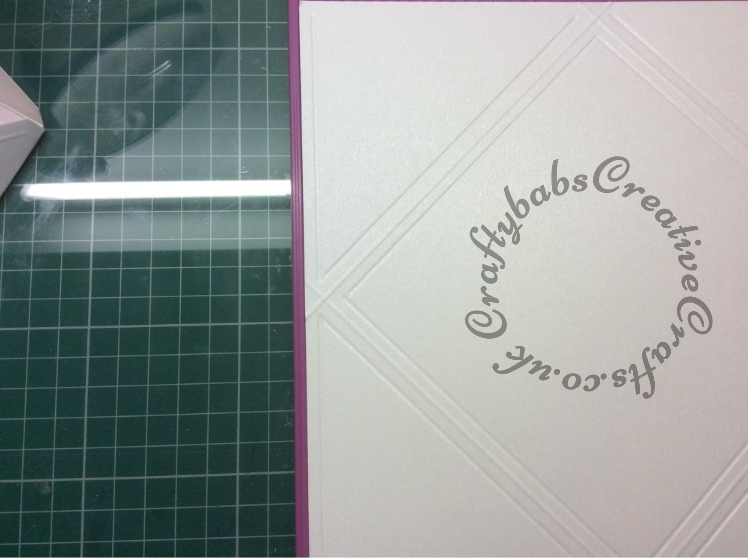
Step 1
Step Two
- Turn you card upside down so that the lines you have just scored are now raised.
- Re-align on your board with the top and bottom corners in the centre of the 15cm channel.
This is the wrong side of your project.
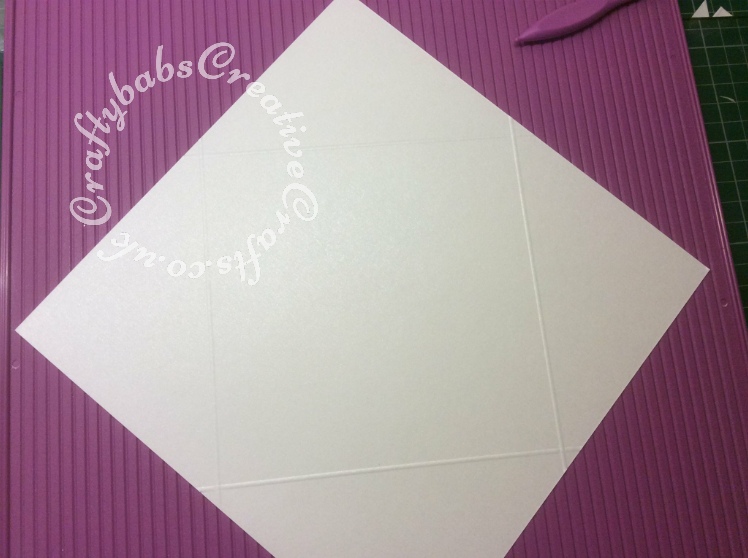
Step 2
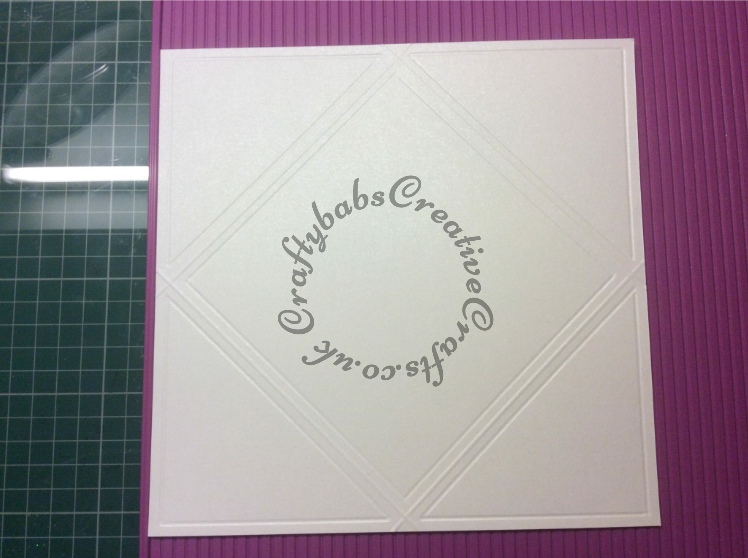
Step Three
- Check your previous score lines match up to the channels.
- Now score in the channel either side of the lines created in step 1 (this should be in channels marked 21.5cm and 22.5cm) . N.B. Stop scoring approx 5mm before the horizontal score lines (see photo).
Step 3
Step Four
Without moving the card, repeat these score lines on the left side at channels marked 7.5cm & 8.5cm.
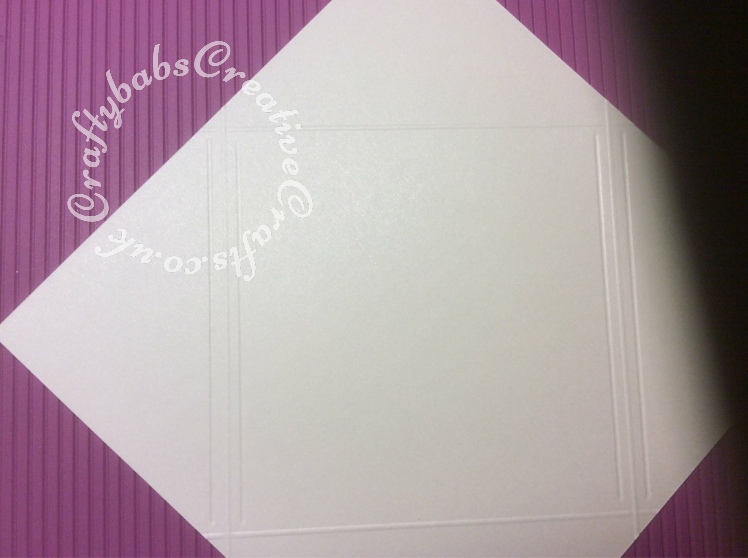
Step 4
Step Five
- Rotate your card 90 degrees and align the top and bottom corners and score lines created in step 1 as described in step 3.
- Now score either side of the remaining 2 sides as sown in steps 3 & 4 again taking care to stop scoring 5mm before the horizontal lines.
- Your inner score lines should now meet at the corners forming an embossed square in the centre of your card.
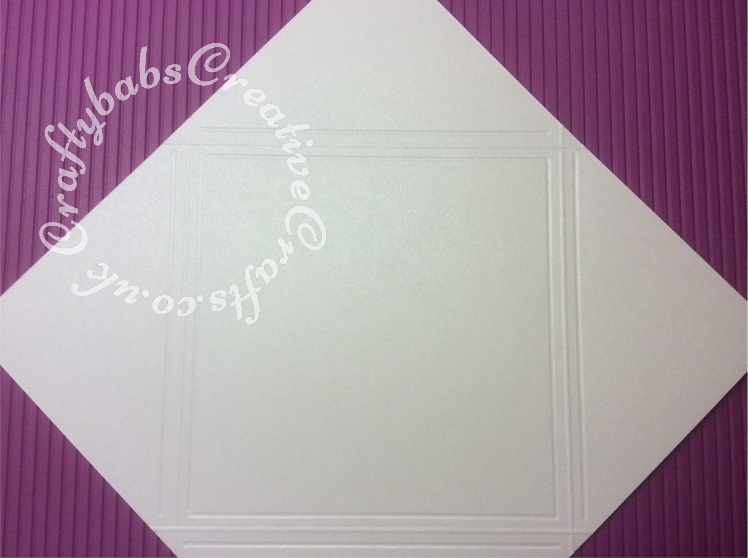
Step 5
Step Six
- Keeping your card wrong side up, align one of the straight sides with the edge of your score board.
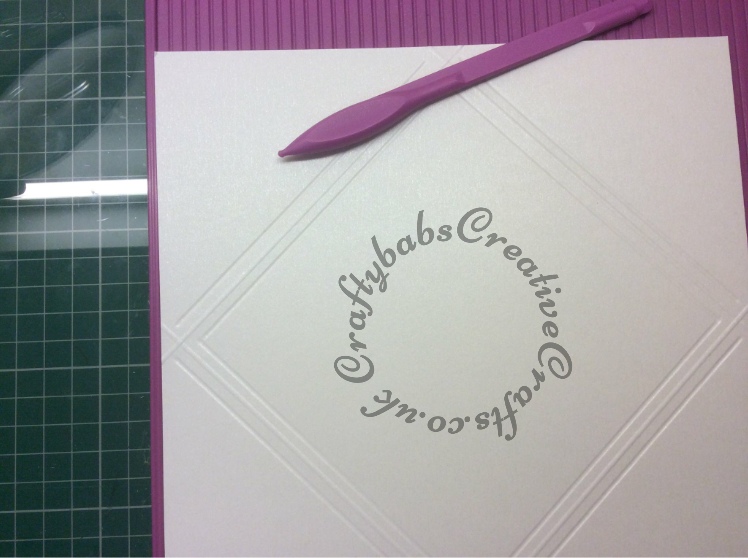
Step 6
Step Seven
- Using the first channel (5mm) score down from 5mm below the top corner and stop scoring just before the centre where the diagonal lines cross (see picture below) then continue scoring just below this point stopping 5mm before the bottom corner.
- Repeat on the remaining 3 sides forming an embossed triangle in each of the four corners.
Step 7
Step Eight
- Your embossed card should now look like the one in the picture below. Wrong side upmost.
- Scoring is now completed.
Step 8
Step Nine
- Right side view showing centre embossed square and triangle in each corner and debossed fold lines.
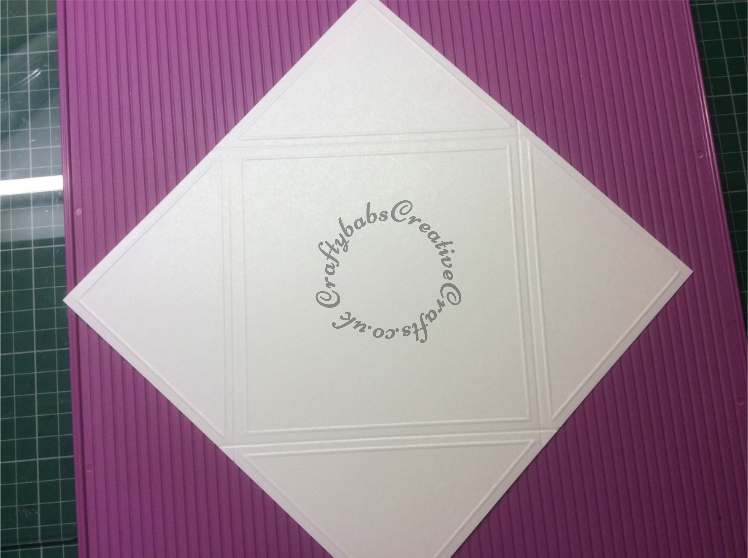
Step 9
Step Ten
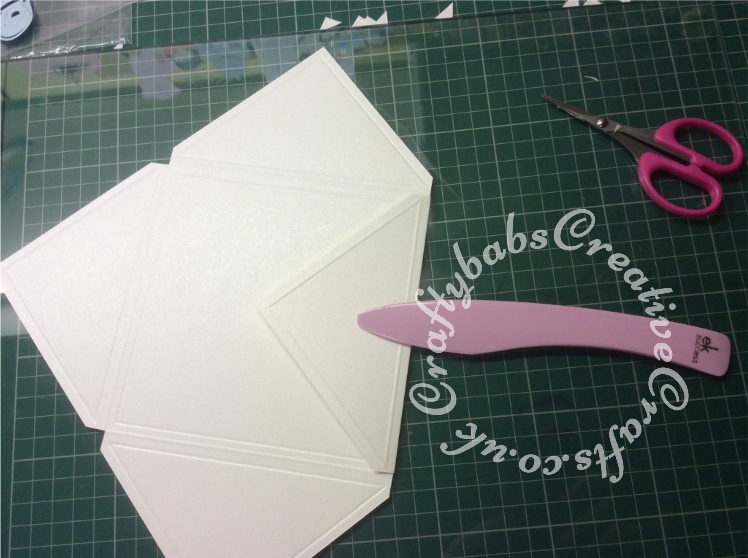
- Using scissors or a craft knife, trim away the tiny triangle in the centre of one side (created with score lines in step 1- see picture below).
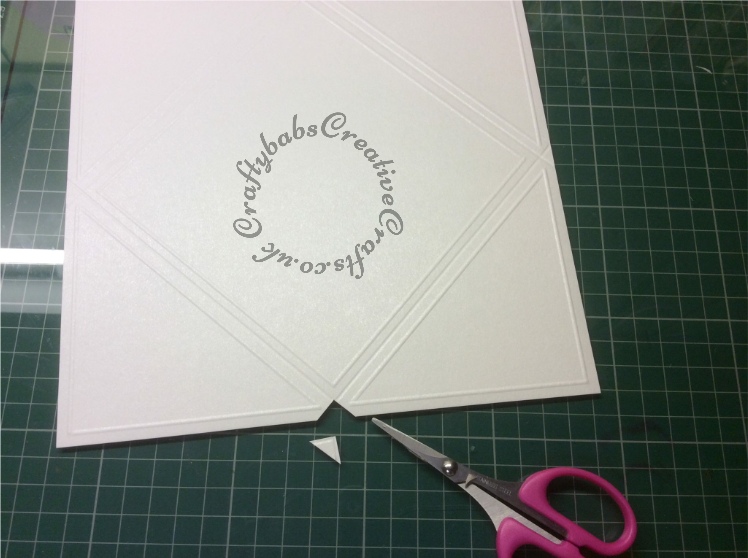
Step 10
Step Eleven
- Trim the same on all four sides

Step 11
Step Twelve
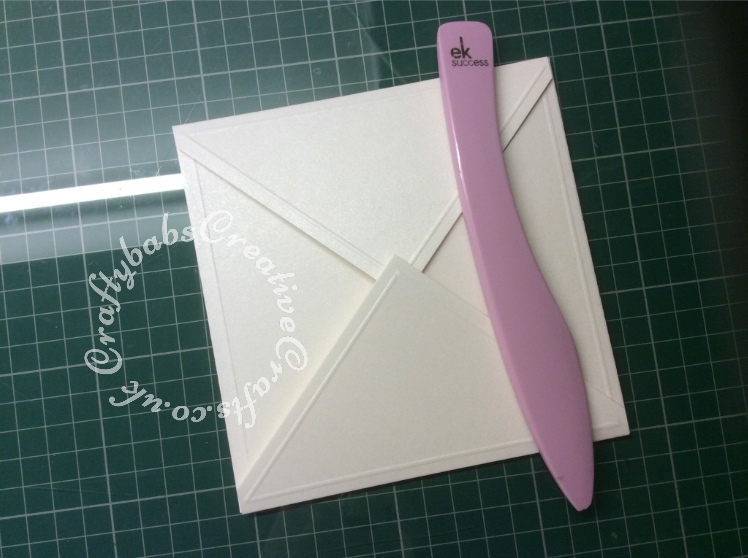
- Using a bone folder and taking care not to flatten the decorative embossed lines fold one of the corners towards the centre along the score line you created in step 1 and burnish.
Step 12
Step Thirteen
- Fold all remaining corners into the centre and burnish, taking care not to flatten decorative embossed lines.
- Your outer cover is now completed.
Step 13
Step Fourteen
- This step is optional, you could just use a piece of ribbon around you outer cover to keep it closed.
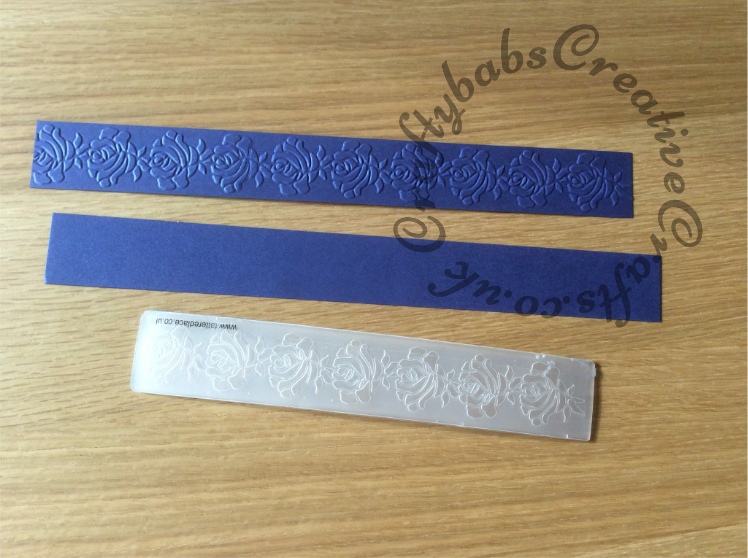
WARNING! the next step involves cutting your embossing folder in half! - If you want to make a belly band, using a contrasting card stock (I used 300gsm double sided pearlescent navy card), cut to width suitable for a border embossing folder of your choice and long enough to wrap completely around your outer cover with a small overlap. I used a Tattered Lace Rose embossing folder.
- My embossing folder had it’s hinge at one end which meant I could not do a continuous strip longer than the folder. I cut mine at the hinge, placed the 2 sections together and then sellotaped them together down one of the long edges. This allowed me to emboss the entire length of the strip.
- It’s bit of a chore but cut and emboss the number of belly bands you require.
- My embossing folder looks a little worse for wear now after doing a large number, but it still works fine but I take no responsibility for your folders, if you choose to do as I did you need to accept it will be a bit more of a fiddle to use once it’s cut but I felt it was worth it.
Step 14
Step Fifteen
- Using the score board, score your belly band so that it will fit snugly around your outer cover, taking care that it’s not too tight (it will be difficult to slide on and off), and glue the overlap to secure.
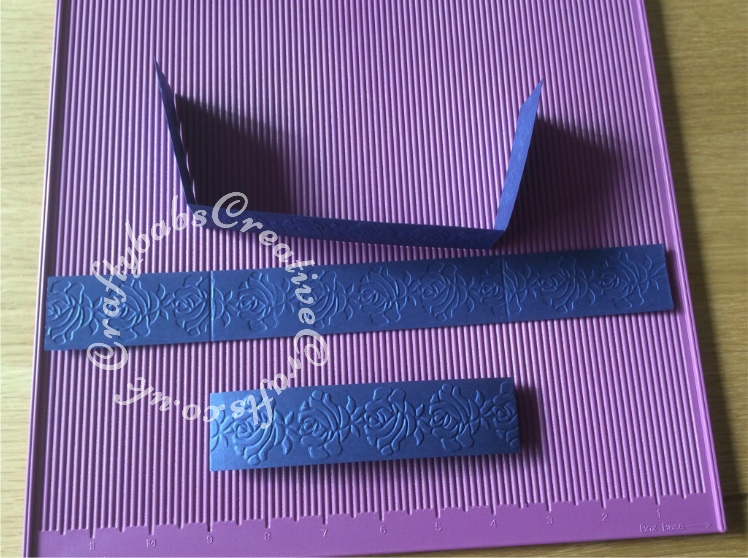
Step 15
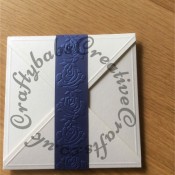
Step Sixteen
- The outer part of your invite is now completed.
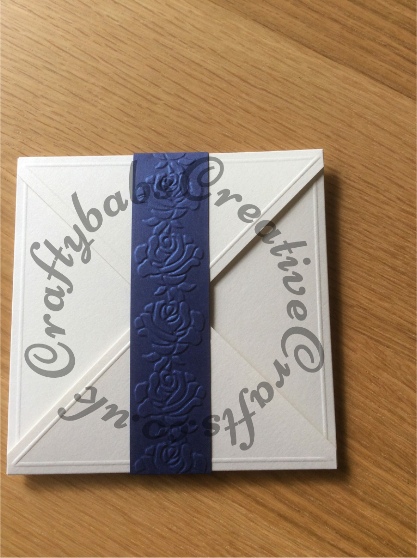
Step 16
Step Seventeen
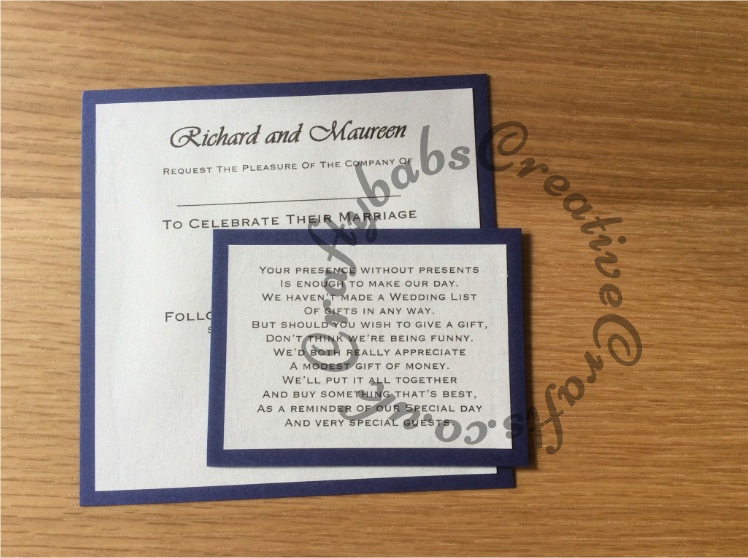
- Depending on what needs to be included in your invite, print and trim all the items ensuring that once matted and layered, they will fit inside the out cover.
- Cut mats from contrasting card to match belly band.
Step 17
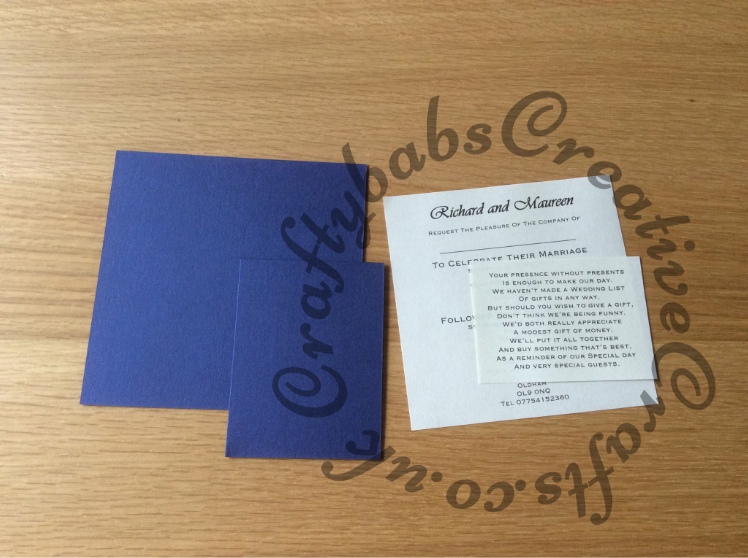
Step Eighteen
- Completed inserts ready to go into outer cover.
- I used PVA sparingly but if you’re worried about your paper warping, use double sided tape or a tape pen.
Step 18
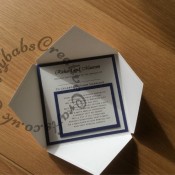
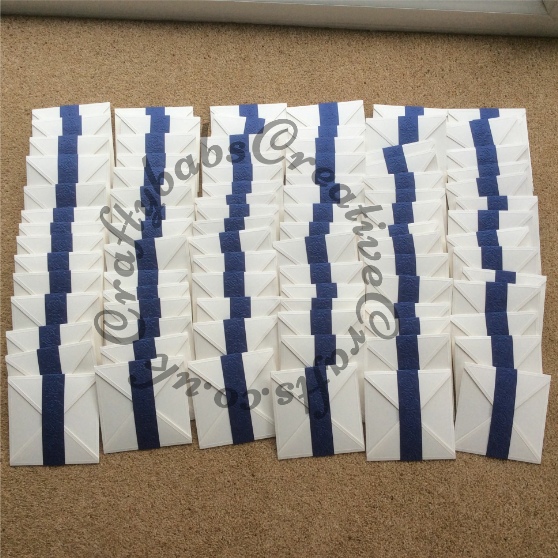
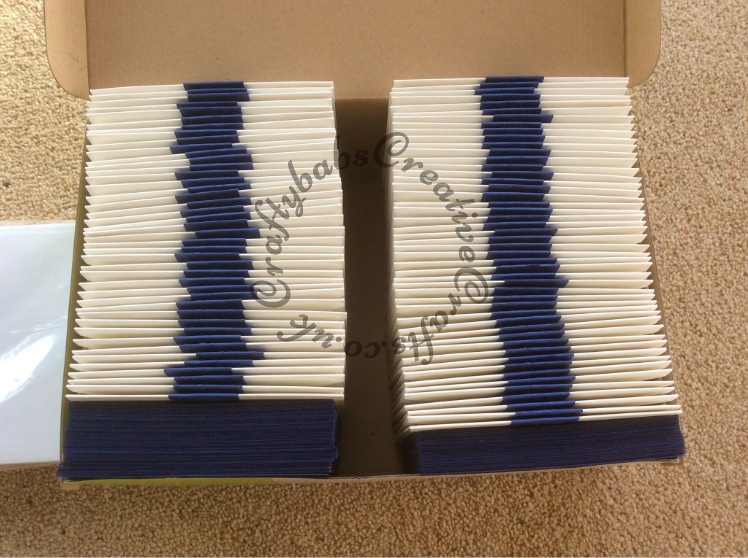
Step Nineteen
- Hey Presto! your invite is now completed and just needs an envelope.
- I made these as a wedding gift for the happy couple (colour themed to match the wedding) and boxed them up with the inserts left out so they could write on the recipients names. If you are doing these for yourself you could include the names when you are typing the inserts.
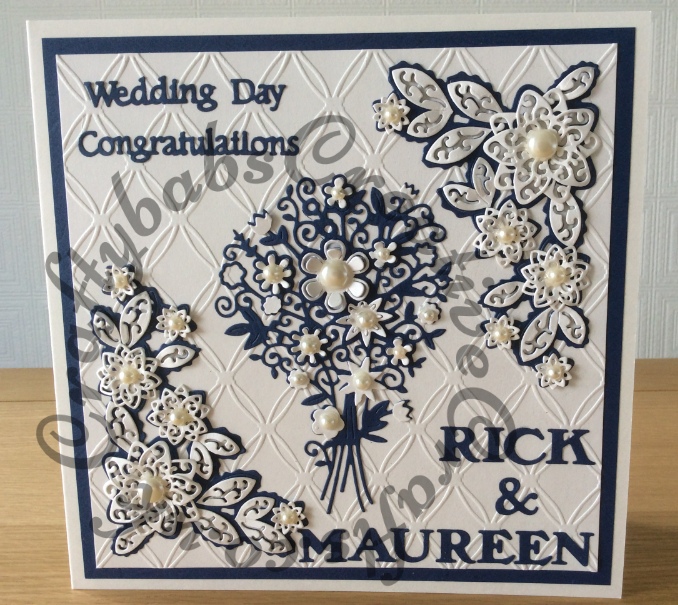
- As an added touch, I made their Wedding card from the same card stock as the invites to it matched perfectly, scroll down to see pictures below.
Thank you for stopping by and don’t forget to leave a comment to let me know what you thought. This is the first of what I hope will be many tutorials, so any feedback is greatly appreciated.
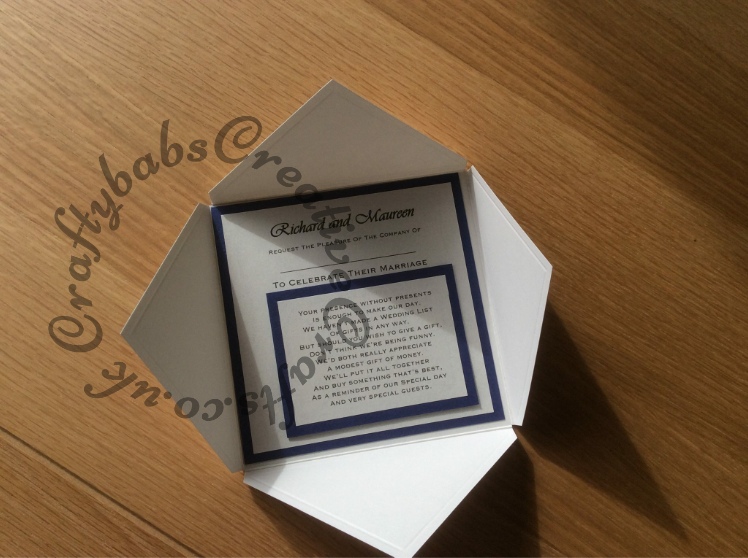
Step 19
BWedding1