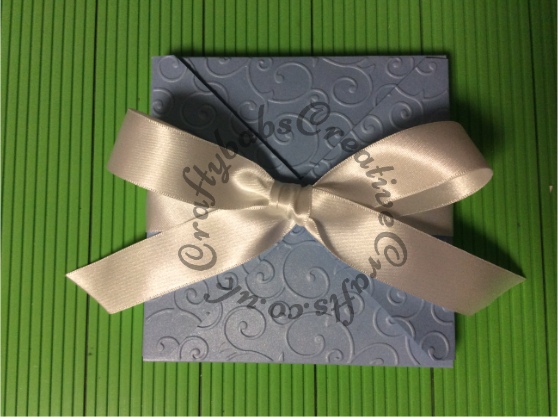
This type of card has been a firm favourite with my friends, relatives and customers. It is something of a labour of love, requiring a significant amount of time and patience to create, but the end results are worth it. I have made these predominantly for the arrival of new babies, but have also adapted them for other special occasions such as weddings, confirmations and special birthdays. Producing this tutorial has also been a labour of love. I have endeavoured to be as comprehensive as possible but if you have any questions, please don’t hesitate to ask.
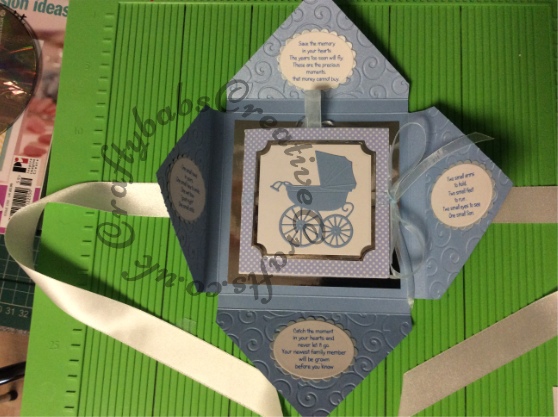
NOTE 1: the example used in this tutorial includes 2 frames cut into the centre pages for including photographs. It is possible to adhere photographs to the pages (or photo mount corners) rather than cutting the frames as shown. The addition of tags, envelopes etc is also optional.
NOTE 2: This is quite a complicated project which is not really suitable for a beginner. I have included lots of pictures to help and look out for notes and tips in bold type. I would strongly suggest trying all stages of this with scrap/lower quality card before launching in to your lovely best quality card stock. Your practise one will be a good reference point to keep for the next time too. I still go back to my prototype if it’s been a while since I’ve made one.
For this project you will need the following:
Equipment:
- Card making score board with marks for DL and A5/half fold.
- Score board with 1cm increments (I used the Hougie board).
- Scoring tool and bone folder.
- 45 degree set square.
- Die cutting machine (A4 format or larger needed if using embossing folder).
- Nesting Frame dies (I used Tattered Lace Notched Squares).
- Nesting Scalloped and plain oval dies ( I used spellbinders small sets of each).
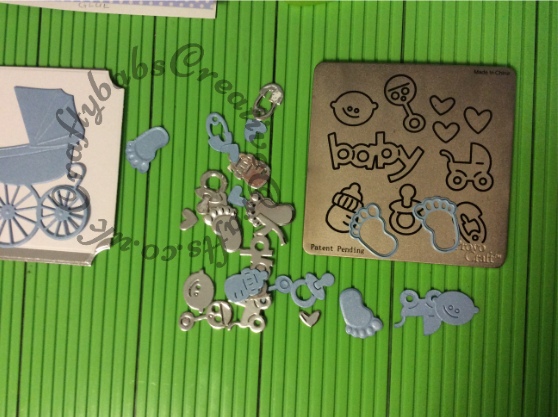
- Dies or punches – Baby or occasion relevant (I used Memory Box Baby Carriage die, Cuttlebug 3×3 Baby#2 die and Marianne Creatables baby feet dies).
- Small Alphabet dies or peel off alphabet stickers (I used Memory Box Alphabet Soup Upper and lower case alphabet dies).
- Nesting Tag Dies (I used Quickutz cookie cutters nesting tags).
- Envelope die (I used the Ellison Thick Cutz envelope die).
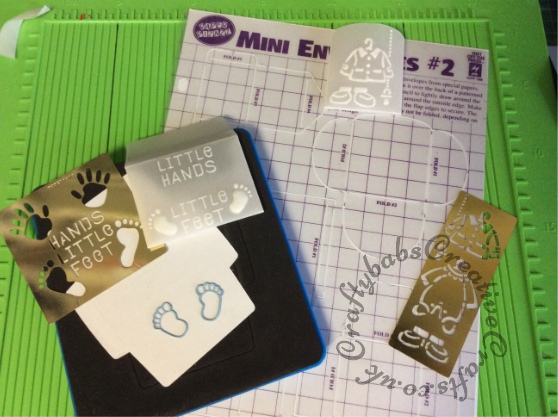
- Envelope template ( I used Paper Pizazz Mini envelopes#2).
- Ball embossing tools – for parchment dry embossing.
- Metal stencils with baby motives (I used PM little hands/feet and The Stencil House Marianne wardrobe baby stencils and also embossed through the Marianne Creatables baby feet dies).
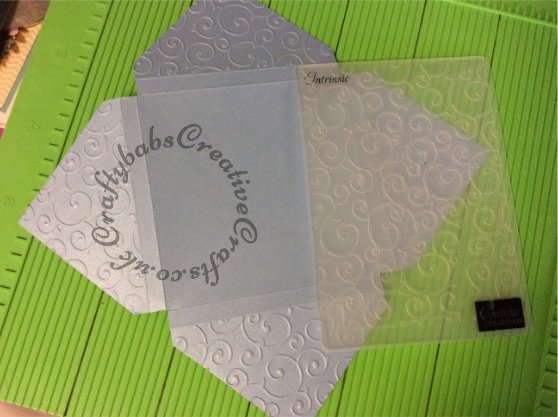
- Embossing folder – optional and easier with an XL format machine like the Sizzix Big Shot Pro (I used the couture creations Intrinsic folder).
- Craft knife (and steel edge ruler) and/or paper cutter.
- Scissors.
- Printer – for sentiments.
Materials:
- 1-2 A4 sheets 300gsm double sided pearlescent card stock – 1 sheet for outer section and remainder for die cut embellishments and tag.
- 1 A4 sheet 300 gsm Patterned card stock for inside album section.
- 1 A4 sheet Mirror card stock.
- 1 A4 sheet of 250 gsm white card stock to print tag and various sentiments and for mat on front of inside section.
- 1 A5 sheet heavy weight Pergamano parchment paper for pocket & envelope.
- 1 piece of acetate measuring 8 cm x 17 cm.
- Good Quality PVA glue (I always use Brian Clegg Black Label).
- Strong all-purpose clear glue (I used UHU).
- Strong double sided sticky tape (I used Sellotape double sided but red liner tape would do).
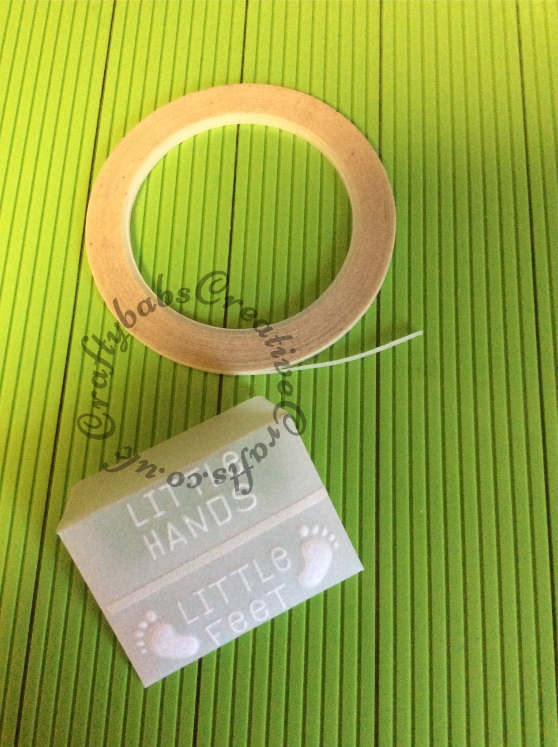
- 3 mm wide double sided sticky tape.
- 2 mm depth foam pads (I use Sellotape Sticky Fixers cut in half lengthways).
- 92cm approx length of 2.5cm wide double faced white satin ribbon.
- 30cm approx length of 4mm wide double faced satin ribbon.
- 102cm approx length of 1cm wide organza ribbon cut to 1 length of 64cm approx and 1 length of 38cm approx.
Step 1 Outer Cover Scoring
Tip: Try this step using copier paper first before using your card stock, you will be ale to keep this as a template to remind you in the future and it will save any waste if you get it wrong.
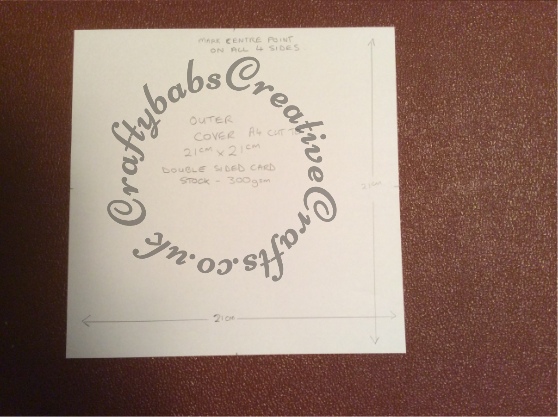
- Take 1 A4 sheet of 300 gsm double sided pearlescent card and using paper trimmer/craft knife cut down to measure 21 cm square.
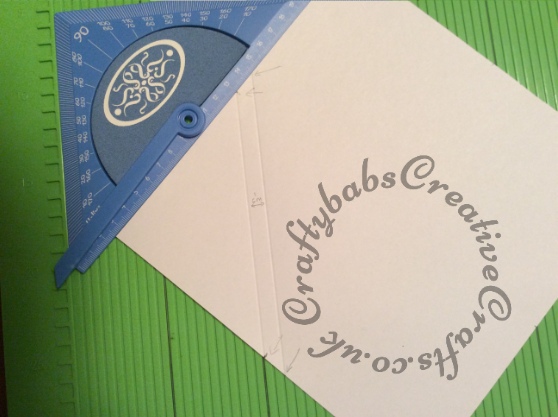
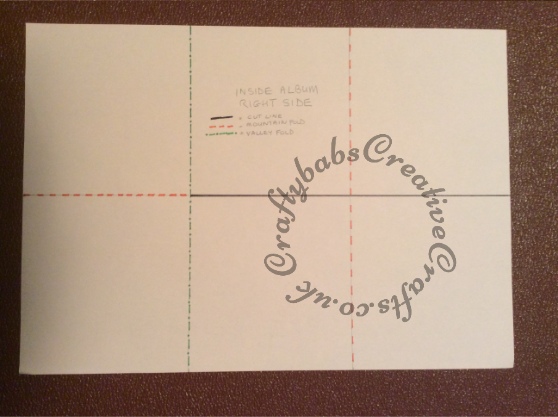
- With a pencil, lightly but accurately mark the centre point on each edge of the square. (see photo below)
- Place this onto your scoreboard diagonally (turned 90 degrees), lining up the pencil marks on two sides with the same channel on your scoreboard. Tip: using the set square will help you to be accurate.
- Using a scoring tool, score a line from one pencil mark to the other, taking care to keep the card still, hold the card stock in place and score another line 1 cm to the right of your first score line. (see photo below)
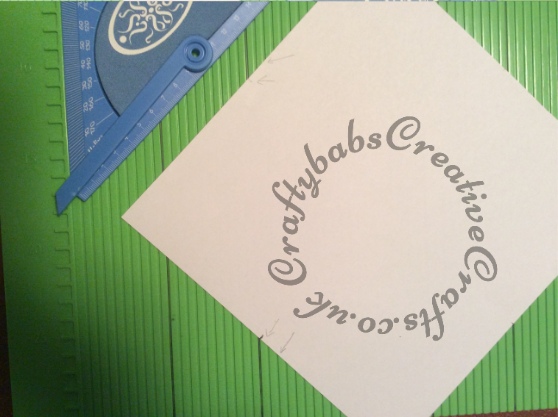
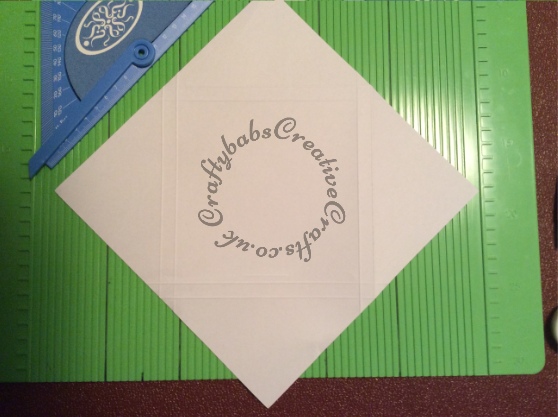
- Rotate your card stock 90 degrees and repeat the previous step, then again 2 more times until all sides have been scored twice and look like the example in the picture below.
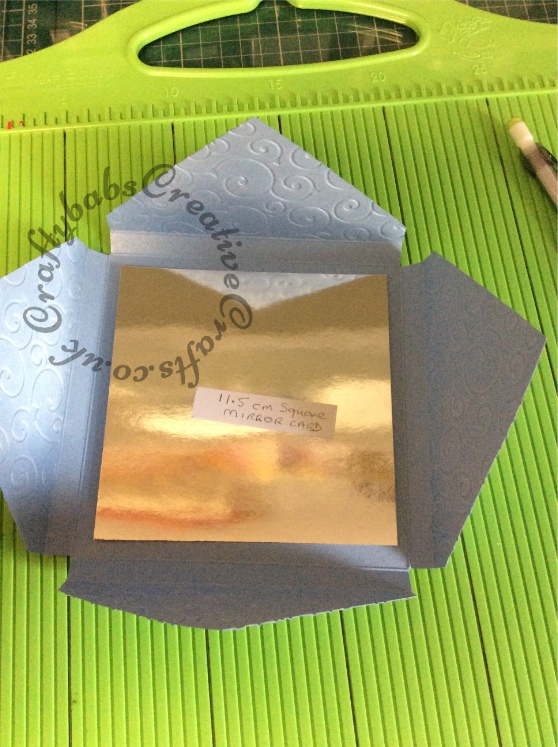
Step 2 Outer Cover Cutting, Folding and Embellishing
- Once you have completed all of step one, you will notice that where your score lines overlap, they form a triangle shape at the centre of each edge. Using a pair of sharp scissors or a craft knife, carefully remove each of these triangles (see photo below, triangles have been shaded in to indicate which sections to remove).
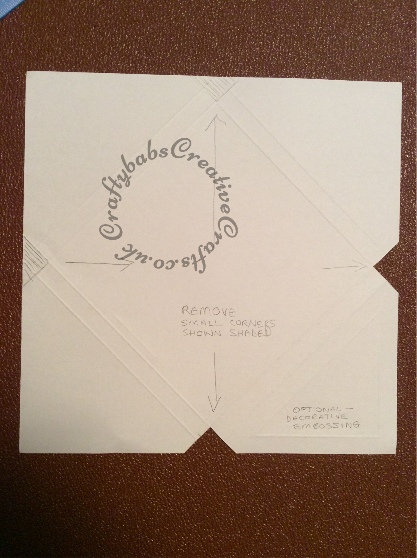
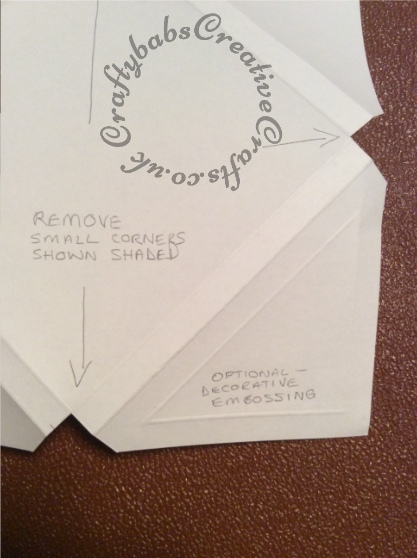
- Fold corners towards the centre on each of the two score lines on each side and burnish folds with a bone folder. The outer triangle can be embellished if desired either with score lines using your score board, or like I do, with an embossing folder.
- If using an embossing folder, take care to line up the folder so that it only covers the corner and does not extend over the first score line. I use the Sizzix big shot pro which allows me to emboss across each corner with the whole cover laid out flat because of it’s extra width. If you have a smaller machine, you will need to carefully fold in the two corners either side of the one you want to emboss and take care with top cutting plate, place it just over the embossing folder, up to the score line, to avoid marking the rest of your cover. If unsure, practise on a piece of copier paper first.
Step 3. Make Inside album section. Folding and cutting
- For this part you will need your card making score board with DL and Half A4 score lines.
- Take your chosen 300 gsm A4 patterned card stock. Place on your score board with the short edge butted up to the left hand side. Score down along the DL score line.
- Rotate the card stock 180 degrees and repeat on the other side.
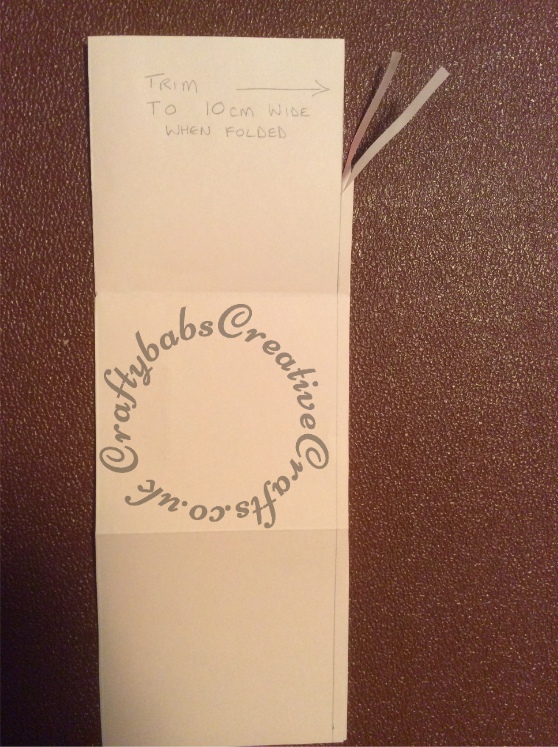
- Turn card 90 degrees so that the long edge butts up to the left side of your score board and now score the full length on the A5 Half fold score line. See pictures below.
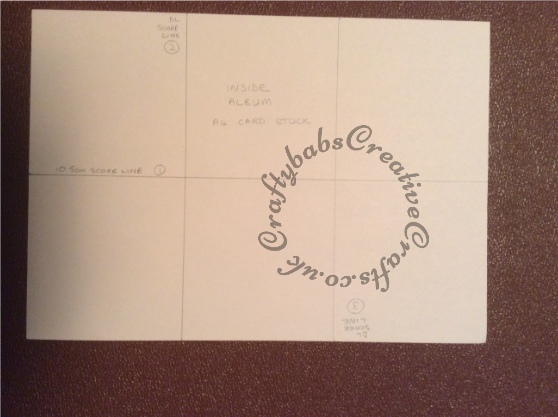

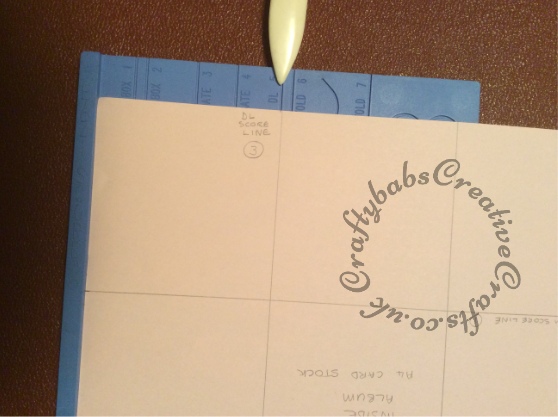

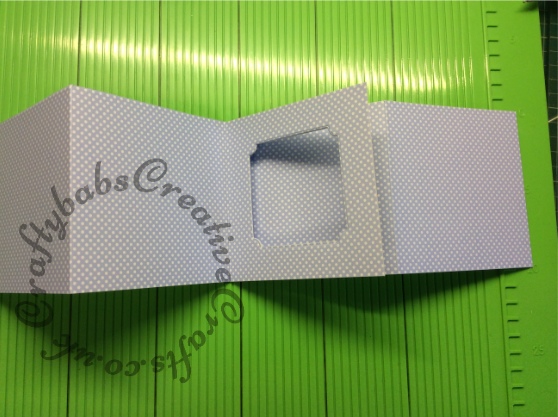
- Using the photographs below as a guide. Cut along your A5 half fold score line two thirds of the way. Fold in half along the remaining one third of the score line with the patterned design on the outside. The uncut third will become the centre of the inside album.
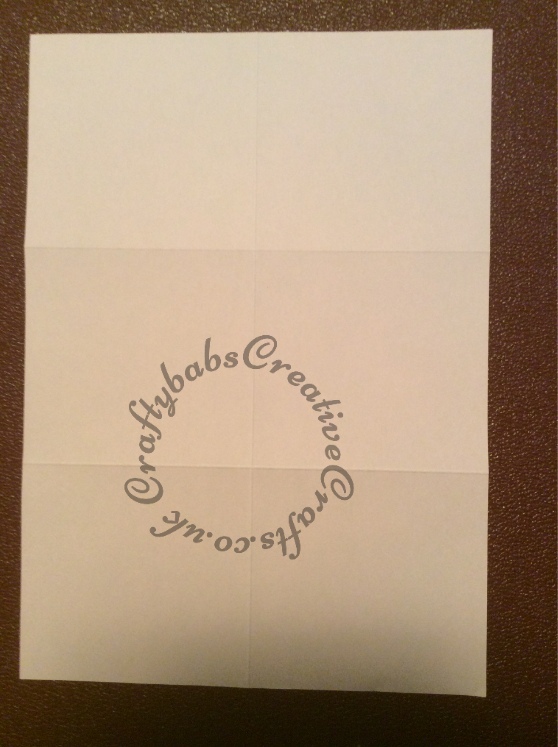
- Using a paper trimmer, trim the inside album section to measure 10 cm when folded in half.
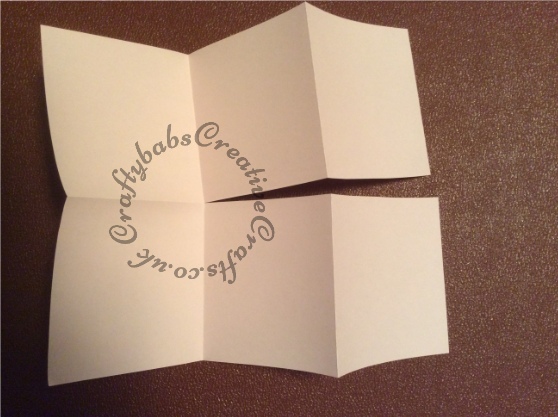
- Now concertina fold the 2 cut sections on either side of the centre section, taking care to keep the lower edges level with one another.
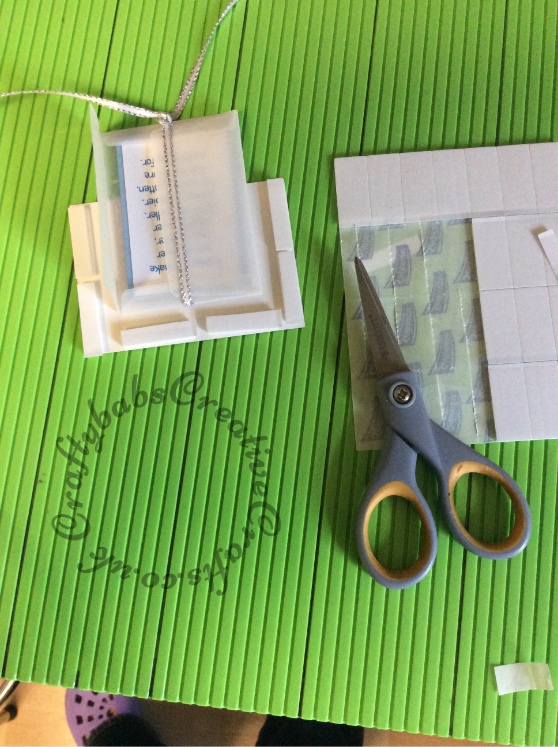
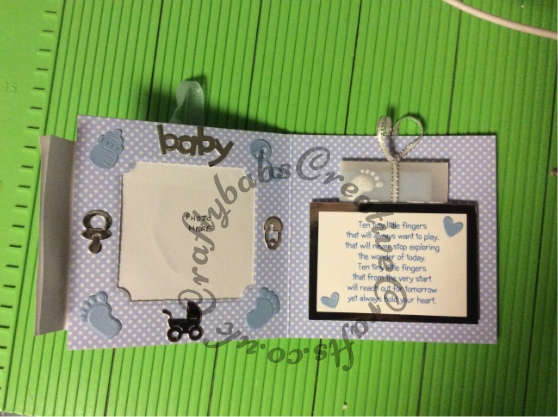
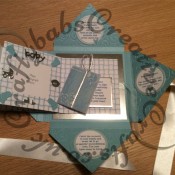
Step 4. Creating Photograph Frame
Note: This step is optional as you can add photo mount corners, or adhere photographs to this section instead, so if you prefer to miss this stage, move on to step 5.
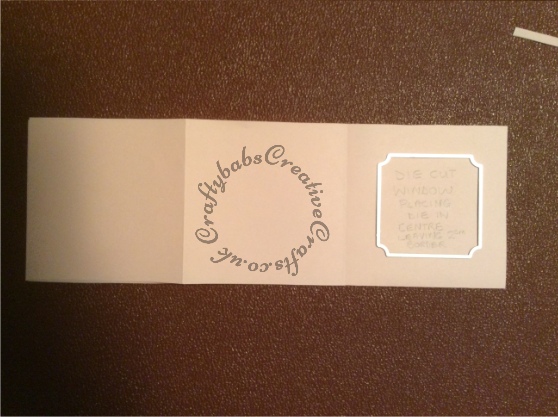
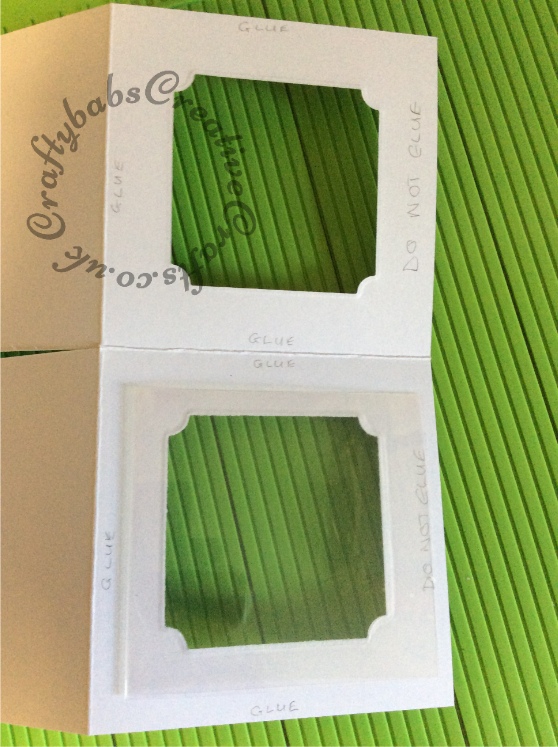
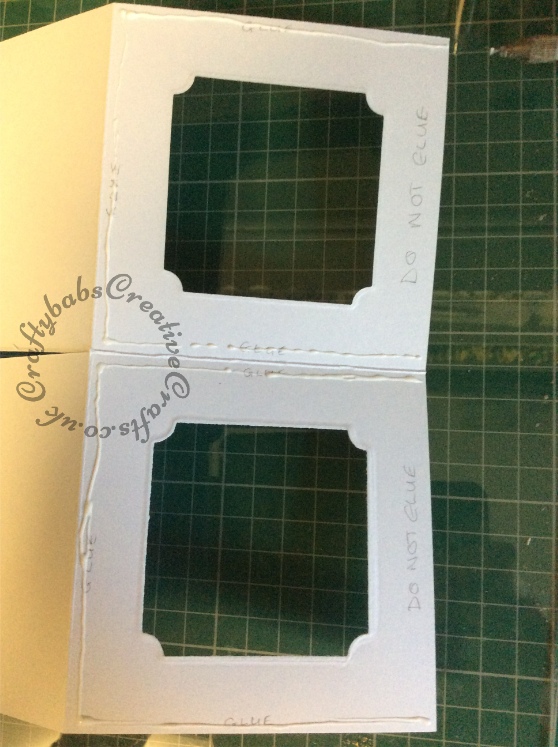
- Using an appropriately sized die from a nesting set, Secure die in a central position with low tack tape then die cut windows in the central section as shown in the pictures below.

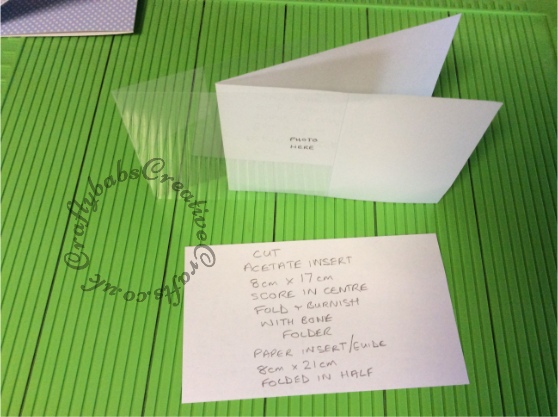
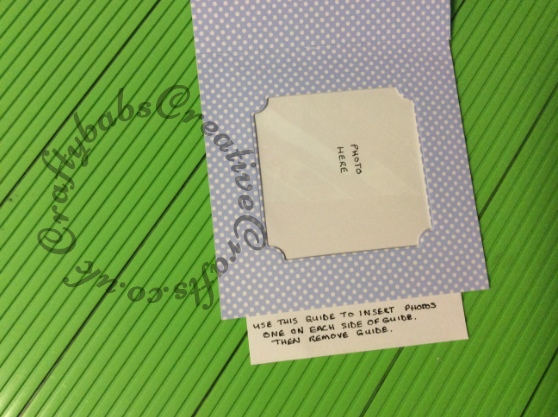
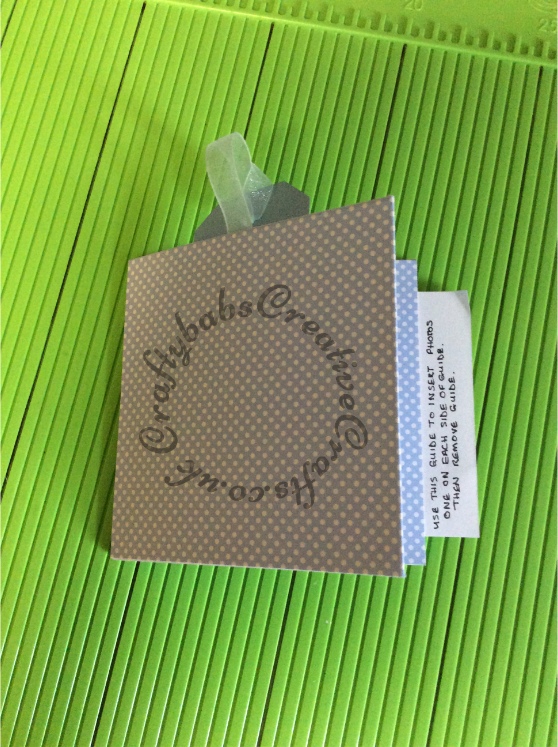
- Take a piece of acetate measuring 8 cm x 17 cm, score at 8.5 cm, fold in half and burnish fold well with bone folder. Cut a piece of paper 8 cm x 21 cm to function as a guide for the recipient. Fold this in half and place inside acetate. I write the words ‘photo here’ on the paper and also guidance on inserting photos on the protruding edge of the paper.
- Using the acetate to help you, apply PVA glue around 3 edges of each side of the frame section taking care to keep the glue away from where the acetate needs to fit. Make sure you DO NOT GLUE the outside opening edges together. Remove the acetate before gluing the two sides together. See pictures below.
Allow the glue to dry then insert the acetate into the opening with the opening of the acetate in the same place and the paper guide protruding out.
Step 5. Make Parchment Pocket, Tags, Envelope, Card & Die Cut Sentiments
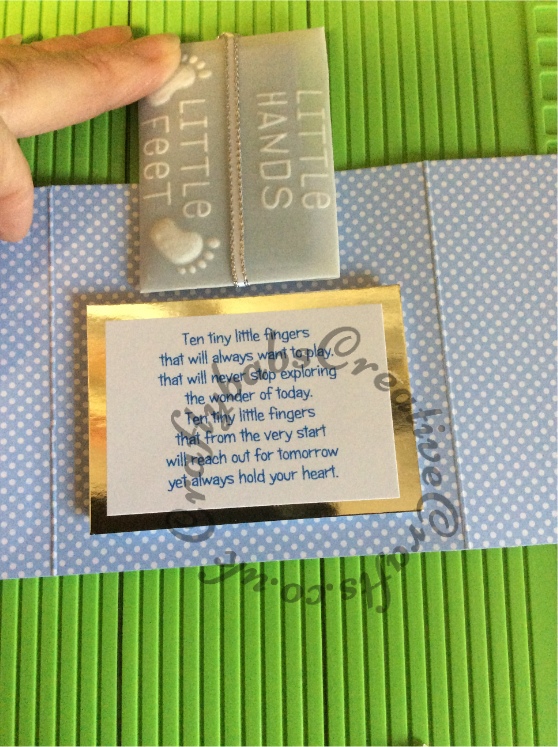
Using Heavy weight pergamano parchment paper, envelope die and pocket template, cut out pocket and envelope. Dry emboss with stencils on to front of pocket and envelope. Note: envelope will have ribbon across the centre so keep chosen design above and below centre line.
- Print details, sentiments etc for small card, tag, envelope pocket, and outer cover onto 250gsm white card stock. Printing tips: I set my page for printing as a 4 column landscape page with a 0.5 mm border. I set the screen so that the image on my computer is exactly the same as A4 so that I can hold my die cutters up to the screen to ensure the text I print will fit into the die I want to use.
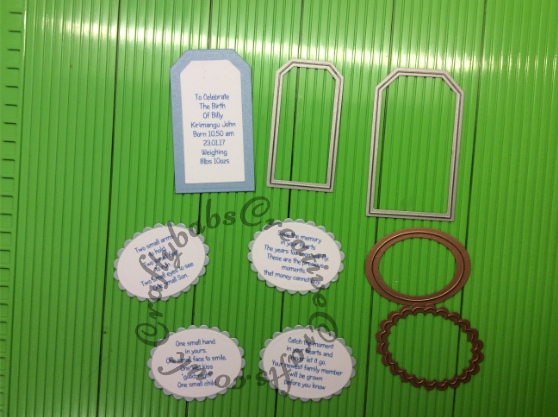
- Die cut oval sentiments for outer cover from white card using nesting plain oval die and cut scalloped ovals from coordinating pearl card to layer, glue layer in place with PVA.
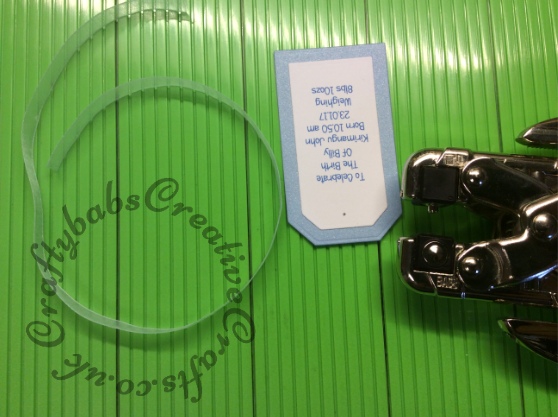
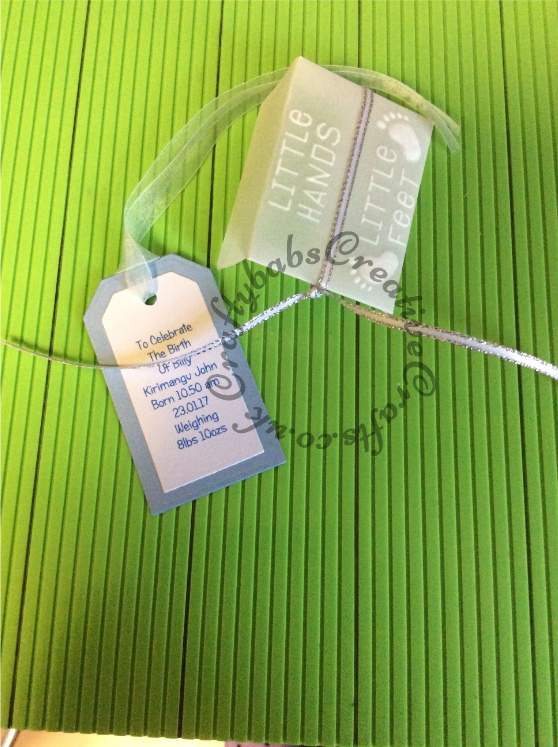
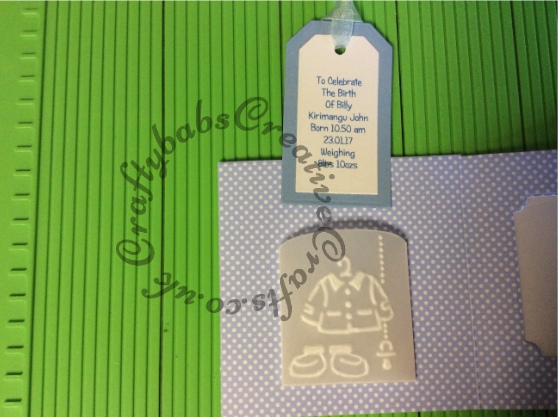
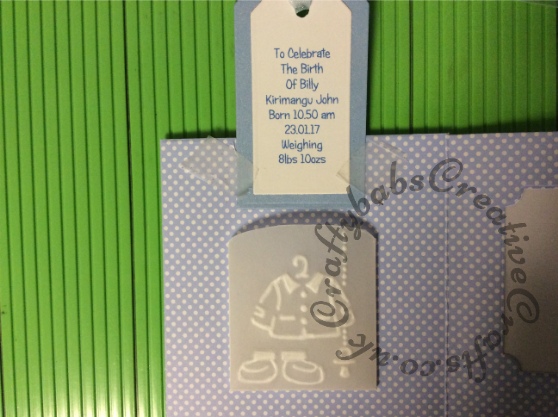
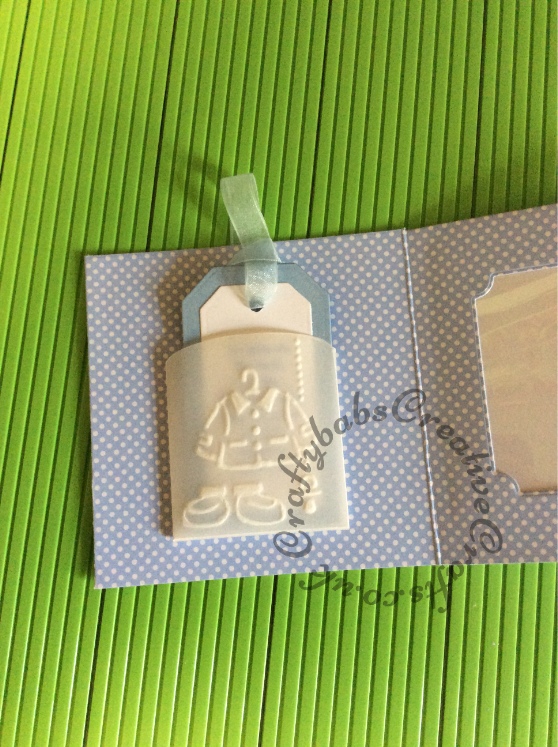
- Die cut 2 tags using nesting tag dies, one from the same card as the outer cover using the largest size die that will fit into the parchment pocket, and the other from the white card with printed details/sentiment using the next size down die. Glue the 2 tags together. Punch a hole in the tag. Fold the 38 cm piece or organza ribbon in half, thread fold through hole and pass 2 ends through loop to attach. See Pictures below.
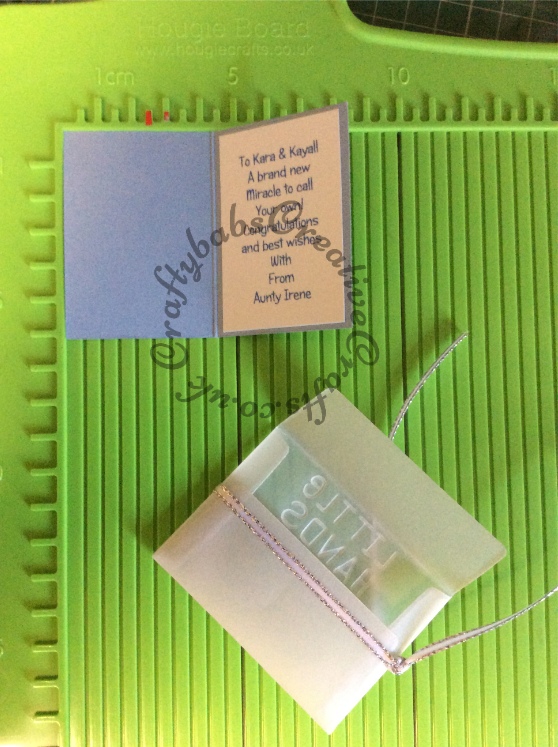
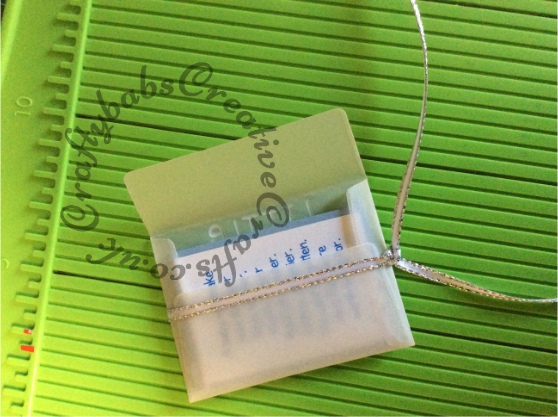
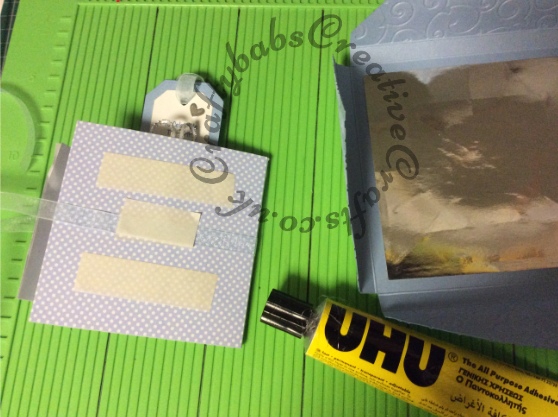
- Make a small card from the same card stock as used for the outside cover. Sized to fit into the parchment envelope. Cut printed sentiments from white card to fit small card and glue into place on the front and inside. Attach 4 mm ribbon around the centre of the parchment envelope using 3 mm wide double sided tape leaving the 2 ends (of equal length) at the left front side of the envelope and tie to secure.
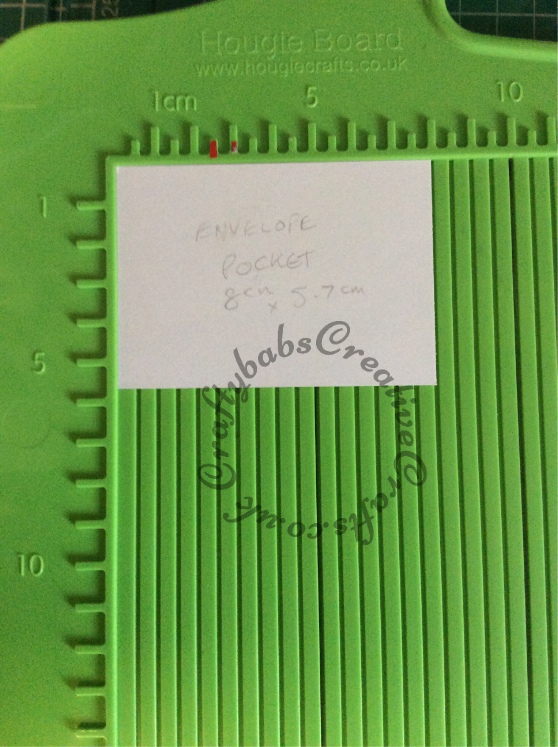
Step 6. Make Envelope Pocket
- The pictures below should illustrate this if the explanation seems confusing.
- Using mirror card, cut a rectangle small enough to fit inside the inner album but wide enough to fit the parchment envelope and still have room for mounting onto page with foam pads (the size I use is 8 cm x 5.7 cm to fit the Ellison die envelope).
- Attach printed sentiment to right side of this piece.
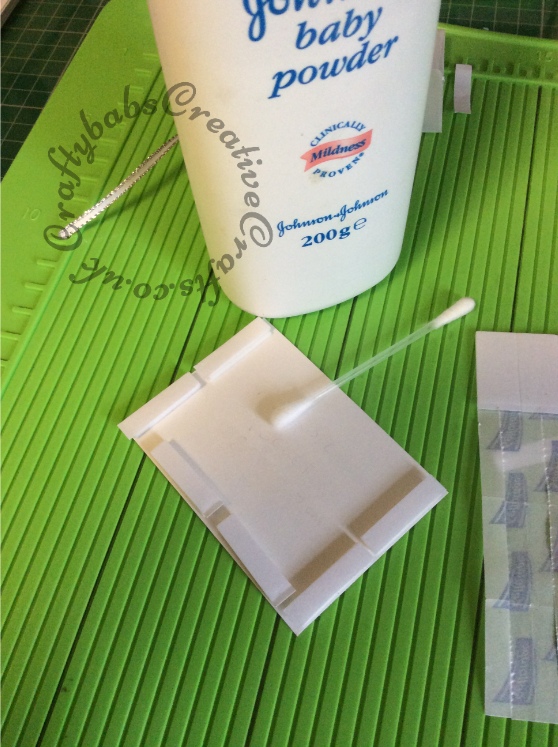
- Attach a double layer of 2 mm deep foam pads close to the edges of both sides and along the bottom of the envelope pocket (I use Sellotape sticky fixers, cut in half lengthways). The double layer allows more room for the envelope and card to fit into.
- Leaving the backing paper in place on the top layer of foam pads, I dust all the edges with a cotton bud and talcum powder to remove any exposed sticky areas.
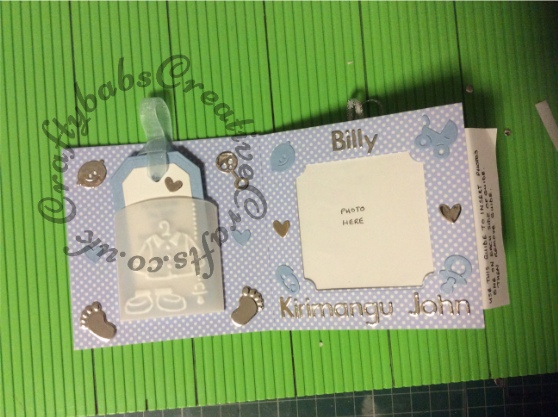
Step 7. Attaching pockets, tags and envelope to inside album section
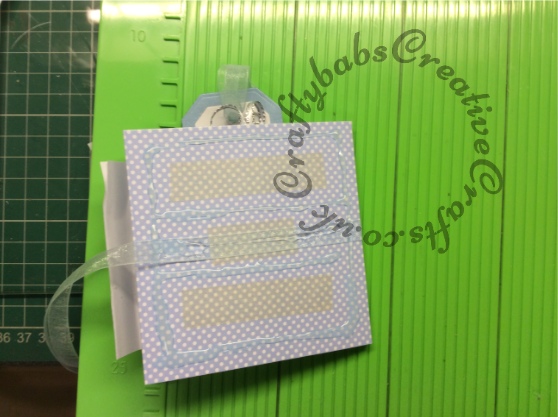
- Glue the parchment tag pocket to the page left of the centre photo frame section using PVA. Position pocket centrally on the page so that when the tag is in the pocket, it does not protrude over the top of the page.
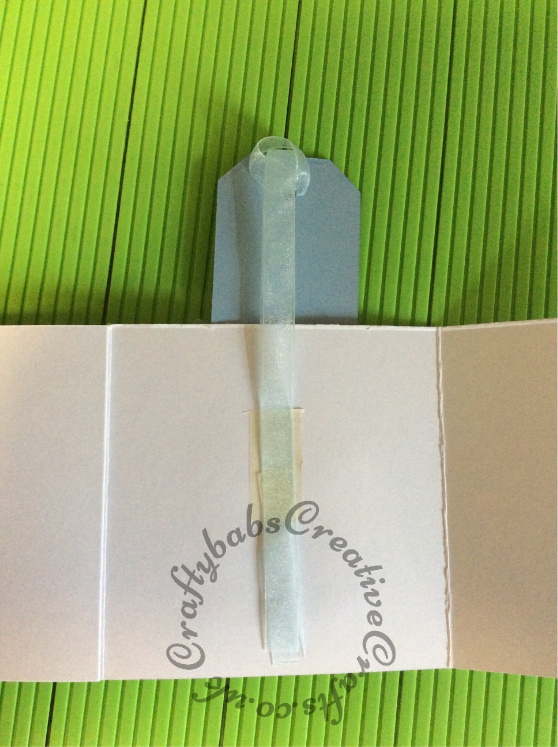
- Position the tag so that it is approximately 5 mm above the top of the pocket and central. Fix in place with removable tape.
- Turn the whole thing face down. Apply double sided tape to the centre of the back of the same page and attach ribbon ends to this. Take off removable tape and ensure that the tag can be put into and taken out of the pocket with ribbons taped in place but also that the ribbon is not too long, adjust length if necessary. Trim off any excess ribbon from ends. Note: there will be a loop protruding over the edge on the album top when the tag is in the pocket and this is ok.
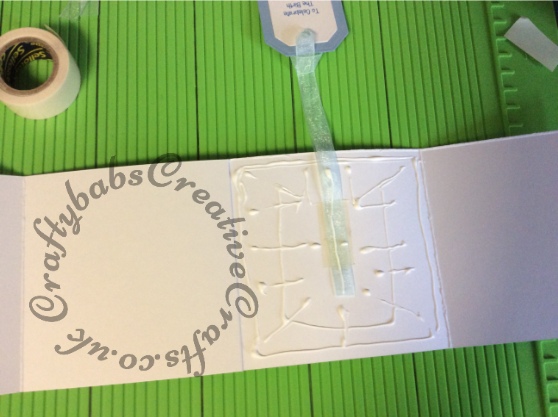
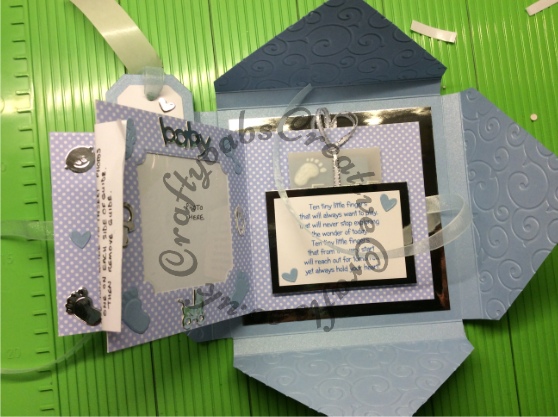
- Now apply PVA glue to all edges of the reverse of the page going over the ribbon too, and glue the front page into place. See pictures below.
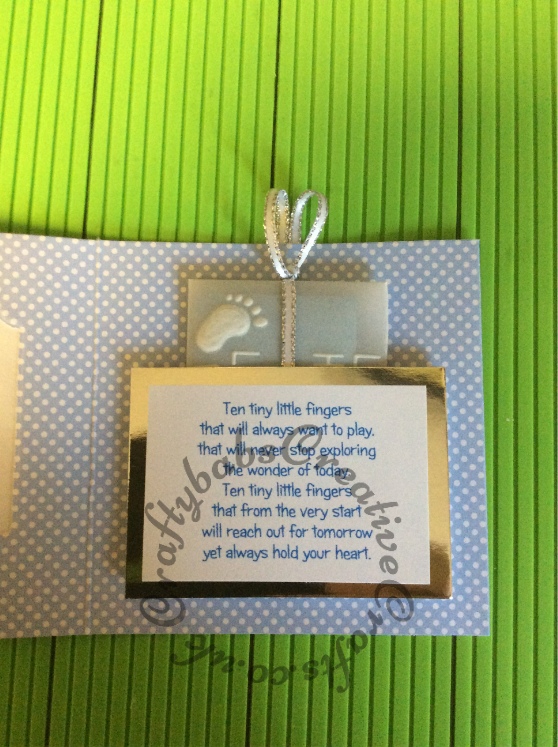
- Attach envelope pocket to the page right of the central photo frame section. Note: check positioning is central and that the envelope does not protrude over the top of the album when in the pocket before removing backing from sticky pads as once they are stuck, they are STUCK.
- Attach envelope, with removable tape, just above the pocket and centrally as you did with the tag.
- Turn the whole thing face down. Apply double sided tape to the centre of the back of the same page and attach ribbon ends to this. Take off removable tape and ensure that the envelope can be put into and taken out of the pocket with ribbons taped in place, adjust length if necessary. Trim off any excess ribbon from ends. Note: there will be loops protruding over the edge on the album top when the tag is in the pocket and this is ok.
- Now apply PVA glue to all edges of the reverse of the page going over the ribbon too, and glue the back page into place. See pictures below.

Step 8. Embellishments and personalisation
NOTE: It’s much easier to add embellishment to the album section before you attach it to the outer cover.
Using your chosen dies (small ones work best for this project), die cut embellishments from the same card stock used for the outer cover and also mirror card stock.
If you chose to include the die cut frame section, use dies from the same set of nesting dies to die cut a mat and layer for the front of the album section, I cut the larger one from Mirror card and the smaller layer from the white card stock. Glue these together but DO NOT attach to the album front yet. Add main embellishment to this (I used the Memory Box Baby Carriage die).
If you want to add personalisation, die cut letters from the same mirror card. You will need a small alphabet, I used the Memory Box alphabet soup upper and lower case dies. You could use peel off alphabets instead if you wish.
Arrange your embellishments first and once you are happy, glue them into place with PVA but DO NOT attach front embellishment yet. NOTE: I use a needle nosed glue bottle and tweezers for small fiddly die cuts.


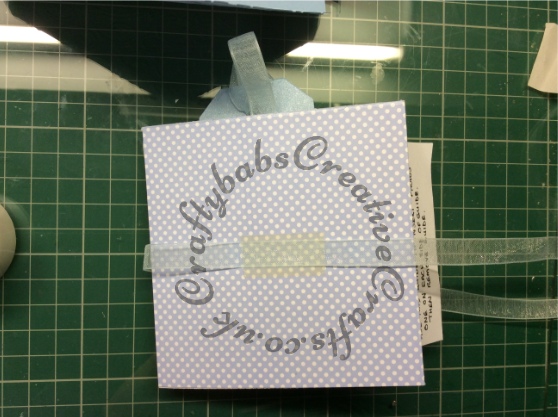
Step 9. Attaching Album closure ribbon
- Place a piece of double sided sticky tape in the centre of the front and also on the back of the album section.
- Take the 64 cm length of 1 cm wide organza ribbon, fold in half to find the middle. Place the middle of the ribbon in the centre of the spine of the album section.
- Remove the backing from the double sided tape on the front and attach the front half of the ribbon.
- Keeping the ribbon in the centre of the album spine, do the same for the back.
Step 10. Attaching album section to outer cover
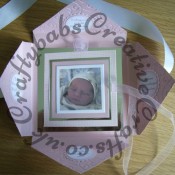
- The inner square of your outer cover should measure approximately 13cm square. Cut a mat from mirror card measuring 11.5 cm square and glue centrally to the inside of your cover. See picture below.
- Take you album section and place face down. Apply 2 strips of extra strong double sided sticky tape one above and one below the closure ribbon (this will hold the album section securely while the glue you are going to apply is properly set). Apply clear, all purpose glue around all edges, over ribbon and in between the sticky tape. NOTE: though you need to glue near edges, don’t go too close as some glue may ooze out, and beware of stray strands of glue that you always get with this type of adhesive.
- Remove the backing from the sticky tape, hold the album closed, by the side edges, keeping ribbon tails away from the glue and place in position in the centre of your outer cover pressing gently but firmly into place.
- Put the whole thing aside for an hour or so to allow the glue to dry.
Step 11. Attaching outer cover closure ribbon, front Embellishment mat & layer and outer cover sentiments.
- Turn your keepsake face down and apply clear all purpose glue (N.B.only applied to the central square NOT the edges or the embossed corners), horizontally and centrally across the keepsake. Lay 2.5cm wide double faced satin ribbon gently onto glue (making sure the centre of the ribbon is in the centre of outer cover with tails even in length) and pat gently into place, if you press too firmly the glue will seep into the ribbon and show on the right side spoiling the appearance. Tip: I use my score board to centralise the position of the ribbon.


- Leave to one side for an hour or so, face down to allow the glue to dry.
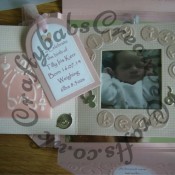
- Glue the front embellishment you made in step 8 into place centrally on the front of the album section using PVA.
- Glue the scalloped oval sentiments in place on the inside corners of the outer cover.
- Once glue is dry, Close the album section (folding in tab from photo guide sheet) and tie closed with organza ribbon (don’t tie too tight). Trim ribbon ends to fit inside outer cover.
- Close the outer cover over the album section, placing top and bottom corners over first, followed by left and right corners and tie closure ribbon to hold closed. Trim ribbon ends if needed.
Final Tip: To prevent cut edges of ribbon from fraying, I singe them with a lighter, but be careful not to burn the ribbon.
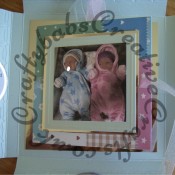
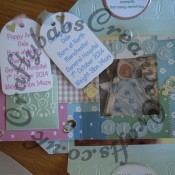
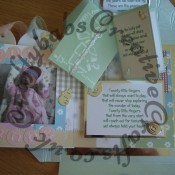
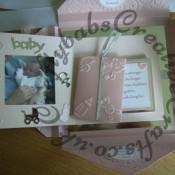
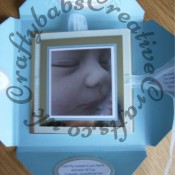
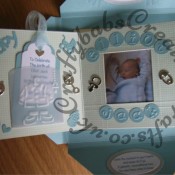
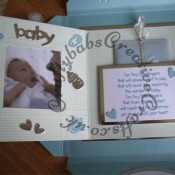
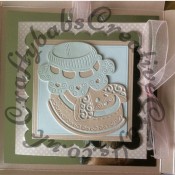
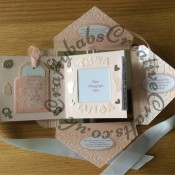
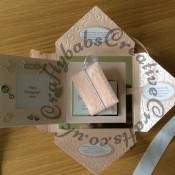
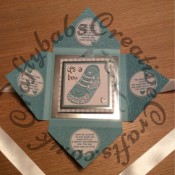
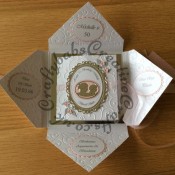
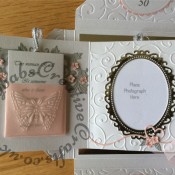
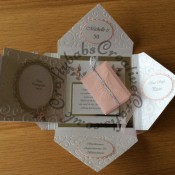
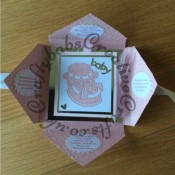
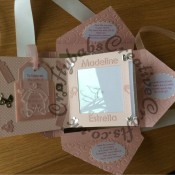
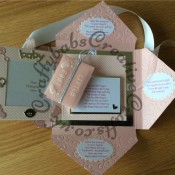
And there you have it. A beautiful keepsake that will be treasured forever. Hope you enjoy making your own. Be sure to let me know how you get on. In the meantime, here are some more examples of the same thing;

As always love reading through your tutorials, still completing another order at present but will have a go at making this as soon as I can looks great and instructions look ok for me to follow, so should be easy for anyone else
love always E
Happy crafting Eileen, hope you can follow everything ok but if you need any help with any of it, just let me know.
Cheers,
Babs