I love to make dimensional cards like exploding box cards and more recently Shadow Box cards. They always pose a problem when it comes to envelopes and I don’t always want to have to make boxes to accomodate them. I thought I’d share with you, how I managed to use a standard C5 envelope to accomodate cards I have made with the Tonic Shadow Box creation dies. Once you have made one of these you will be able to use the principles involved to make similar envelopes for other dimensional cards of different sizes using envelopes of different sizes.

For this project you will need the following:
Equipment
- A score board with 0.5 cm increments
- A scoring/bone folder tool
- Scissors
Materials
- C5 Envelope – 1 per card
- PVA glue
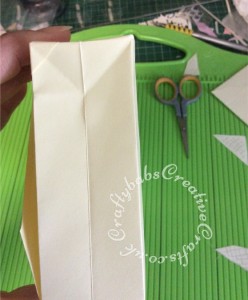
Step 1 – Scoring the sides and bottom
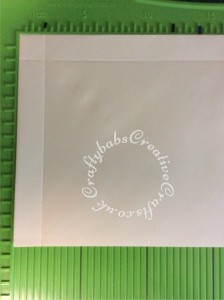
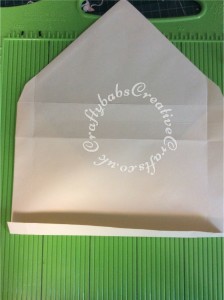
Place your envelope onto your score board and score on the 2cm score line on the left, right and bottom edges of your envelope, aligning each edge to the left hand side of your scoreboard before scoring.

Step 2 – Scoring the top edge
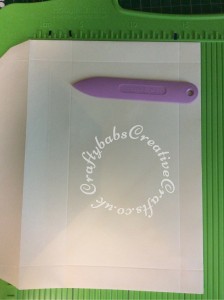
Before you score the top edge (where the flap of the envelope is), open the envelope flap. Place the crease of the flap against the left side of your score board. Because there may be slight differences in size between shop bought envelopes, check the measurement between the score line you made at the bottom and measure your shadow box. Score a line parallel to the flap crease the same distance from the bottom score line as the width the top face of your shadow box (I used the die as a guide). The envelope I used meant that this score line was 4cm below the flap crease for my example (see pictures below).

Step 3 – Re-scoring
Re-score all of the score lines you made in steps 1 & 2 from the other side of the envelope, not forgetting to open the envelope flap for the top score line. This will help you open up the envelope and fold more easily at step 7.

Step 4 – Folding Score lines
Now fold over on all score lines from front to back, turn over and re-fold from back to front. This, like the double scoring, will make it easier to form the box envelope shape when you open up the envelope at step 7.

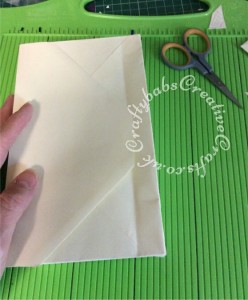
Step 5 – Cutting Corners A
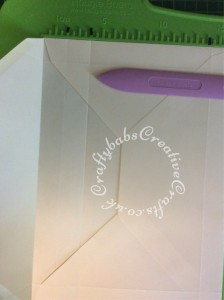
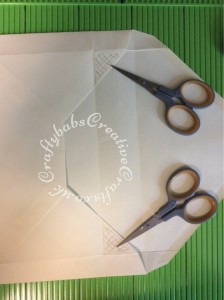
With the back of the envelope facing upwards and using the pictures below as a guide, remove the 2 triangular sections, shown below as shaded, cutting along the score lines.

Step 6 – Cutting Corners B
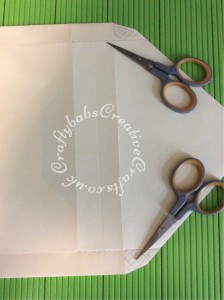
Turn the envelope over and using the pictures below, cut along the dotted line shown and remove the shaded corner areas, cutting along your score lines.

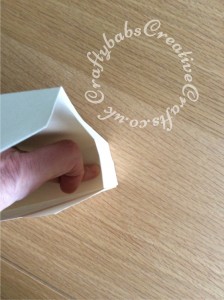
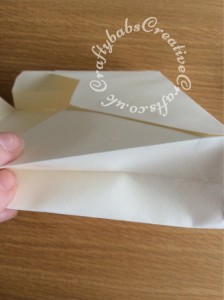
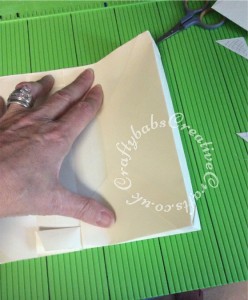
Step 7 – Opening up and shaping envelope
Carefully open up the body of the envelope encouraging the folds to form a box shape. The bottom corners can be a bit tricky to encourage into place, but the sharper and more accurate you can make them, the better your finished envelope will look. Depending on how your envelope was manufactured, you may find it necessary to trim back any loose edges at the bottom of the sides. You should end up with a triangle on each side of the bottom of the envelope.

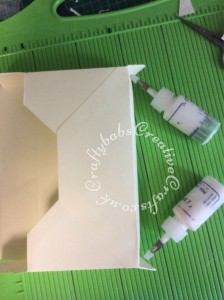
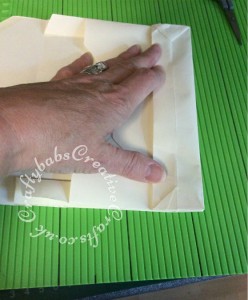
Step 8 – Fixing bottom corners
Fold the triangular sections towards the base of the envelope. Using PVA glue, apply glue to both triangular sections and glue in place. You will find this easier if you stand the envelope on it’s base on a firm surface, put you hand inside and press down till adhered securely.
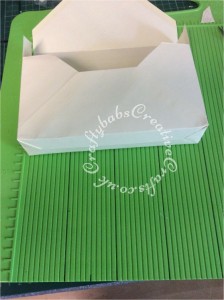
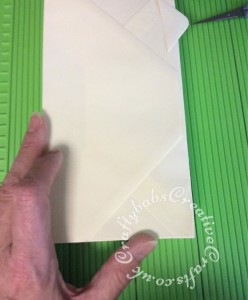
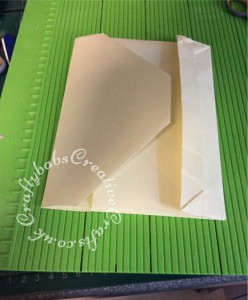
Step 9 – Finishing off
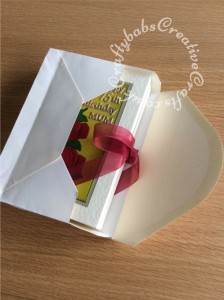
You should now have a box shaped envelope with a small flap on each side, these simply fold inwards over your card once it’s in the envelope. The main flap will now fold over and can be sealed in place when required, however, depending on the envelope you use, you may find the main flap is too long and may require trimming (see pictures below). In the example shown, I found it necessary but another type of envelope I used did not need trimming (see below).

If you sell your cards and want your evelope to fold flat for packaging, follow step 10.
Step 10 – Optional fold flat
Starting with the sides, encourage the centre crease (made when manufactured) into a valley fold, pinching from the top edge towards the bottom but not completely to the bottom.

With your envelope face down, gently fold the base upwards, pressing the sides down at the same time, when you are happy, firmly press on the folds (this looks much the same as many gift bags that come folded flat and will open up in the same way when required).

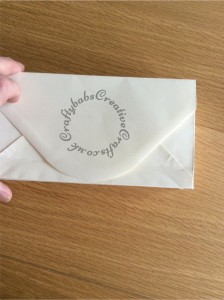
And there you have it, a custom made envelope.
You can use the same principles to make envelopes for other bulky or dimensional cards.
- If you measure your card all the way round from side to side and from top to bottom, providing your envelope measures at least half of this (folded flat = 2x actual measurements), then your card will fit.
- Measurents for your score lines will be half of the overall depth you want to achieve.
- Don’t worry if the measurements do not exactly match your card and it’s a little too big, position your score lines so that they are even on each side and at the top and bottom. The extra space can allow for you to wrap your card in tissue paper before putting in the envelope.
Have a go and let me know how it went. Till next time, Happy Crafting. Babs xx