
This tutorial is a Waterfall Easel Card. These are relatively easy to make but require some patience and accurate cutting if they are to be successful. In this example I have made my own printed base card using Craft Artist Professional 2 software (CAP2), but you could just use plain or patterned card stock and add picture toppers rather than photographs as the method for making the basic card is the same. These are really good for special birthdays using photographs that show how the person has changed and include pictures of places that are important to them. I would advise making yourself a template for the mechanism using the measurements given on the photographs as this will help you to figure out how it works and where any printed sentiments need to be. To print the sentiment on the mechanism you will need to be familiar with some form of word programme on your computer. If this is a problem you could stamp or hand write a sentiment instead.
So let’s get started; for this project you will need the following;
Equipment
- A scoreboard with 0.5cm increments such as the Hougie or Big score
- A scoring tool/bone folder
- A paper trimmer (you could use a craft knife but accuracy is important)
- An eyelet punch and setter & piercing tool.
- Nesting circle dies or punches.
- Number and sentiment dies (or you could use peel offs if preferred)
- Computer with ‘Word’ and graphics programme (such as CraftArtist professional) & printer to size and print photos, mechanism and insert (not needed if using patterned card stock and shop bought topper pictures)
- Corner rounder punch (optional)
- Scalpel or craft knife.
Materials
- A4 300gsm white card stock, 2 sheets 1 for the mechanism and 1 for the base card.
- A4 25ogsm white card stock, 2 sheets, 1 to print photos on and 1 for the topper background and stopper. If not printing you will need 1 sheet of patterned or plain card stock and 5 toppers or actual photographs suitable to trim to 7cm squared plus 2 smaller ones.
- A4 250gsm colour contrast card stock 1 sheet for matting and layering photographs/toppers.
- A4 Silver or gold Mirror card, 2 sheets for matting and layering photographs, topper and stopper.
- A4 paper, 1 sheet for insert.
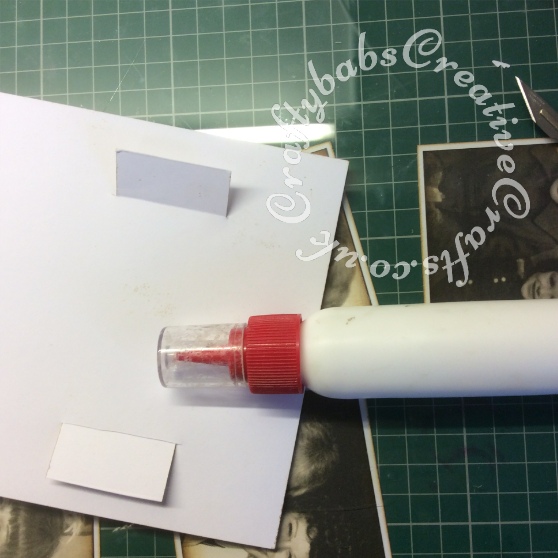
- PVA glue
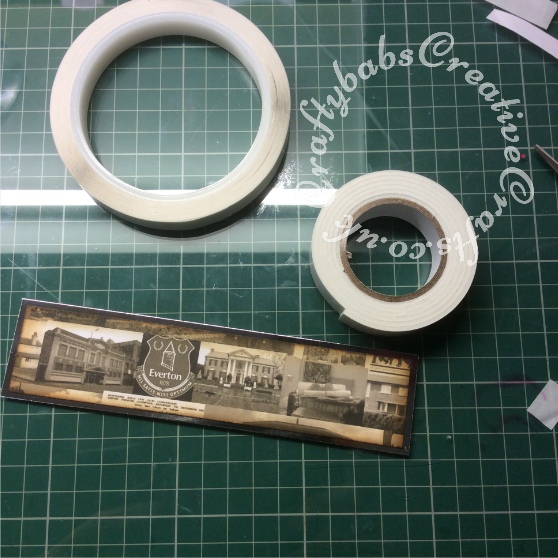
- Strong double sided tape
- Foam pads or foam tape for stopper.
- Distress inks in your preferred colours (optional)
- 3 Jump rings ( 1 large and 2 smaller) in gold or silver to match choice of mirror card.
- 1 eyelet in gold or silver.
Step 1.
Make a template from an A4 piece of thin card stock to the dimensions shown in the pictures below as follows;
- Using your score board, position card centrally (portrait-wise) and score 4cm out from the centre on each side giving you an 8cm wide panel in the middle.
- Score again 0.5 cm out from these lines on each side and again 2cm out from these second score lines on either side.
- Turn you card round to landscape and, keeping the left hand edge butted up to the left of your scoreboard, carefully score on the 4cm line but STOP scoring when you reach the centre 8cm wide panel. Skip the centre 8sm section and then continue scoring down the 4 cm line to the bottom.
- Now score at 9.5cm, 11cm, 12.5cm and 14cm as shown in the photo below.
- You can now use your score lines as guides and using your paper trimmer, remove the unwanted sections of card (the shaded areas in the picture below)
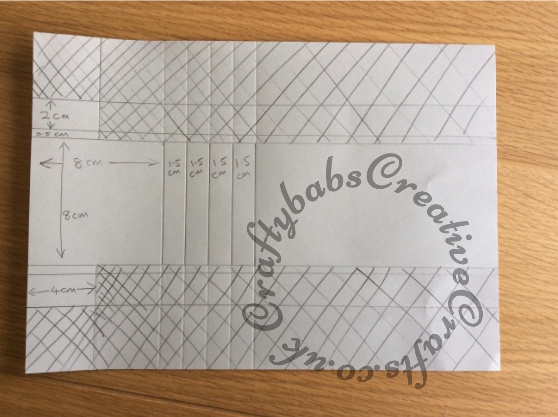
- I use my score board to score all lines before cutting, and then use my paper trimmer to cut along my score lines.
- Now fold along score lines. Red lines in the photo show mountain folds and green ones show valley folds.
Step 2.
If you don’t want to print a sentiment on your mechanism go to step 3.
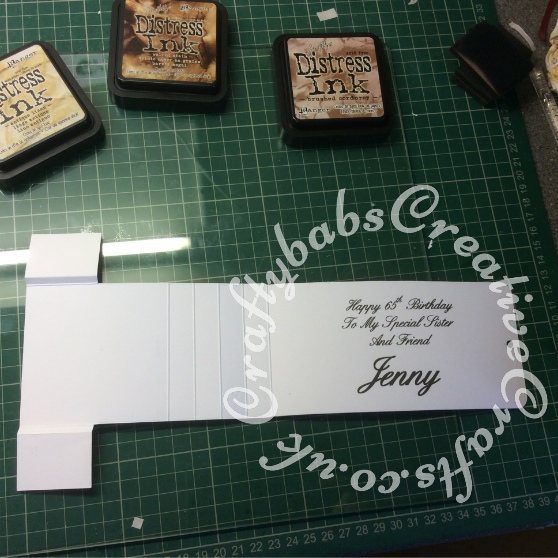
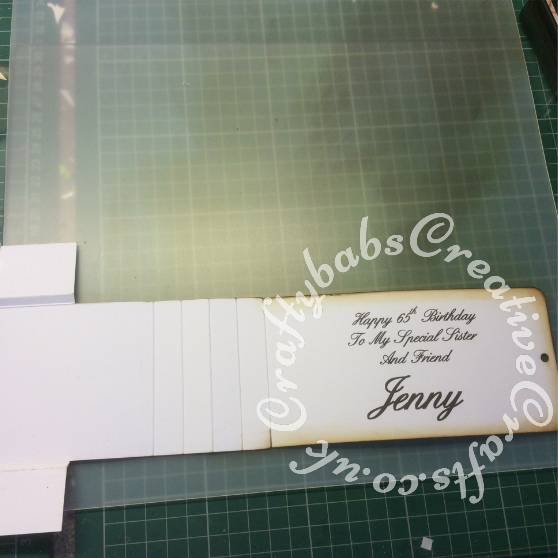
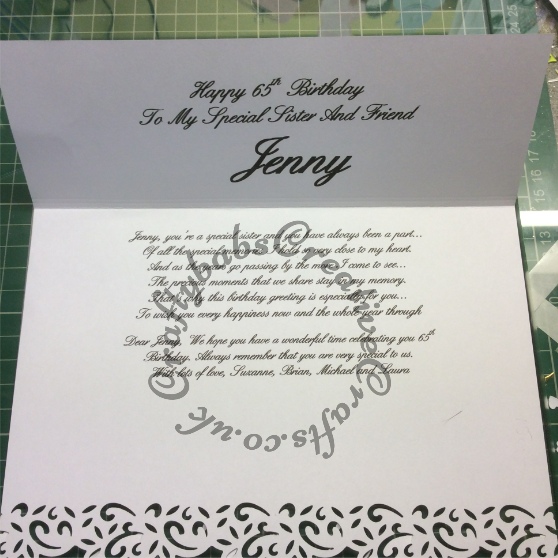
If you want a printed greeting to appear when the mechanism is pulled you will need to print this first onto a piece of A4 300gsm white card. Using ‘Word’ I set my page to landscape, with 2 columns and have my screen set so that my page appears the same size as my card stock (this varies from one computer to another hold your card up to your screen and keep adjusting the size till it matches I have to zoom to 105% on mine), this way I can hold my template up to the screen to check my sentiment is going to appear in the right place. I type my sentiment in the second column part way down and use my template as a guide so I can check if the whole of my sentiment will show when the mechanism is fully extended. Once you’re happy, print out. Remember to make sure your sentiment will be central in the 8cm wide part of your mechanism before scoring to make your mechanism.
Step 3.
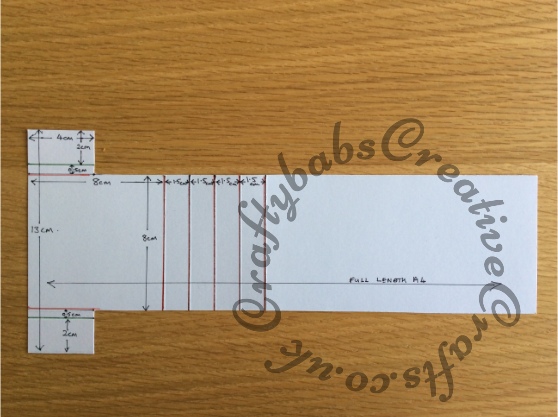
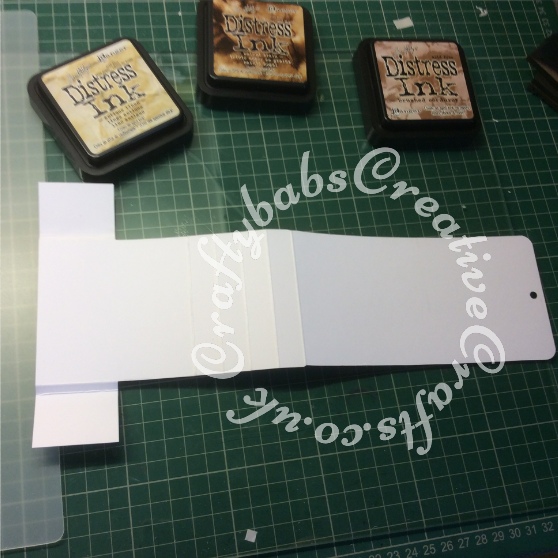
- Using 300gsm card stock make your mechanism as described for the template in step 1 (and step 2 if you are printing your sentiment) but this time turn your card over and score all lines from both sides. (this will help to make your mechanism more flexible and work more smoothly).
- Once trimmed, fold along all score lines, if you have printed a sentiment this will be on the inside.
- Using a corner rounder punch, round off the corners of the pull out section.
- Using eyelet punch, punch a hole in the centre of the pull out section.
- If desired, Ink all edges of your mechanism.

Step 4.
If you don’t want to print your base card and photographs go to step 5.
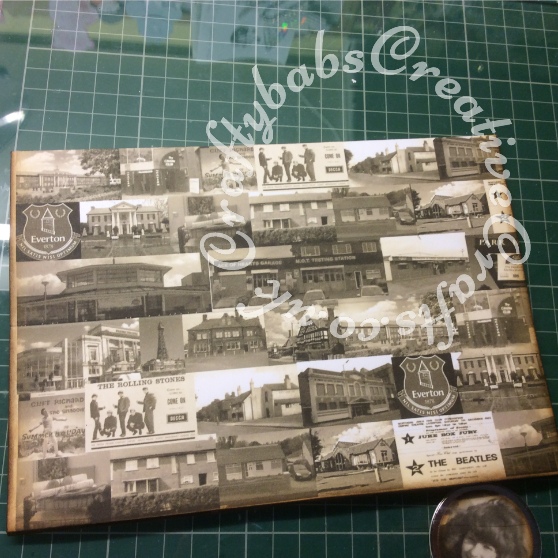
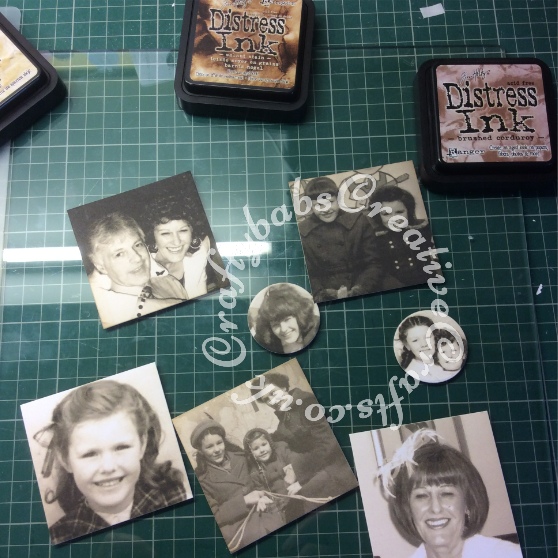
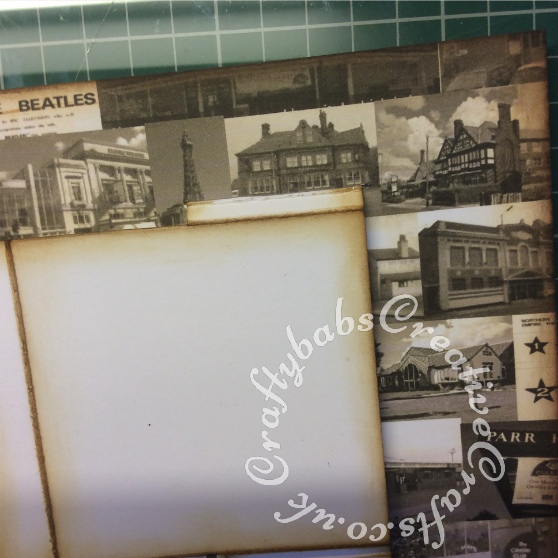
- Design & print your card base and photographs. I used CAP2 to change all photographs to sepia effect then saved them.
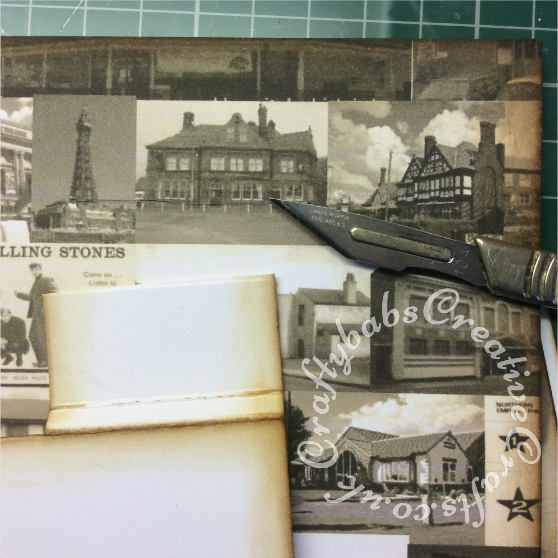
- Again using CAP2, I created a portrait orientated background from photographs of places and things relevant to the recipient and printed it onto both sides of and A4 piece of 300gsm card stock. I printed this again single sided onto 250gsm card for the topper.
- I imported the individual photographs into ‘Word’ where I cropped and sized them so that 5 were 7.2cm square and 2 smaller ones. I then printed these onto 250gsm white card and trimmed so that 5 measured 7cm square and die cut 2 with nesting circle dies for the pull tab.
Step 5.
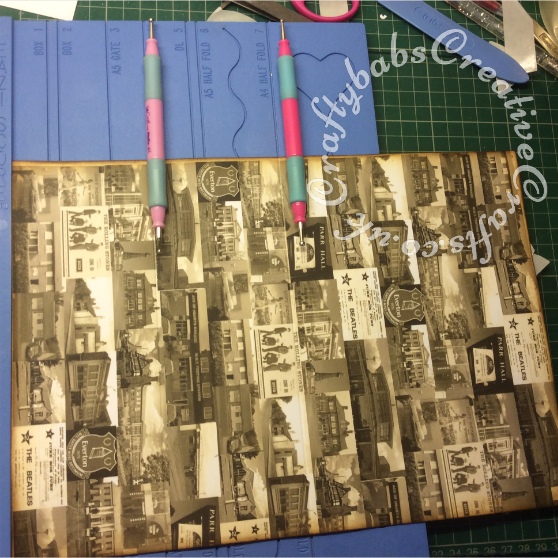
- Create your base card by scoring and folding your A4 base card to form an A5 card. Score the front in half again and fold into the centre.
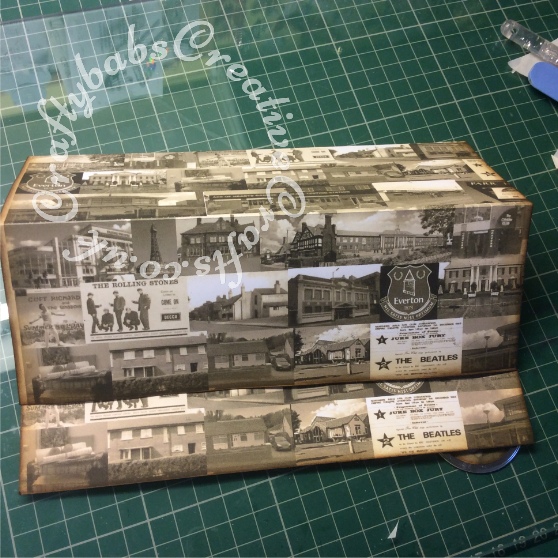
- Using mirror card, cut a mat for the front of your card approximately 20.5cm by 14.3cm.
- using your chosen topper material (if printing use the 250gsm one you printed in step 4), cut a topper layer approximately 20cm by 13.8cm
- If desired, using distress inks in co-ordinating colours, ink around the edges of your card base and topper layer.
Step 6.
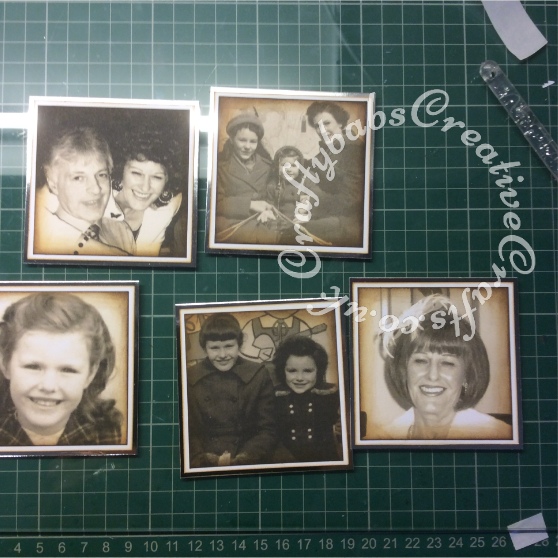
- Trim your chosen 5 images (photos if printing) to 7cm square. Ink with distress ink if desired
- Using co-ordinating coloured 250gsm card stock, cut 5 mats measuring 7.5cm squared and ink if desired.
- Using mirror card cut 5 mats measuring 7.9cm squared.
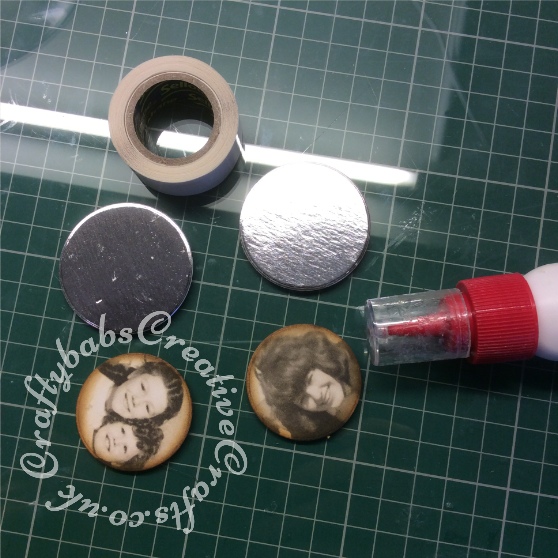
- Using nesting circle dies or punches, cut the 2 smaller images and ink if desired.
- Cut 2 slightly larger circles from mirror card as mats.
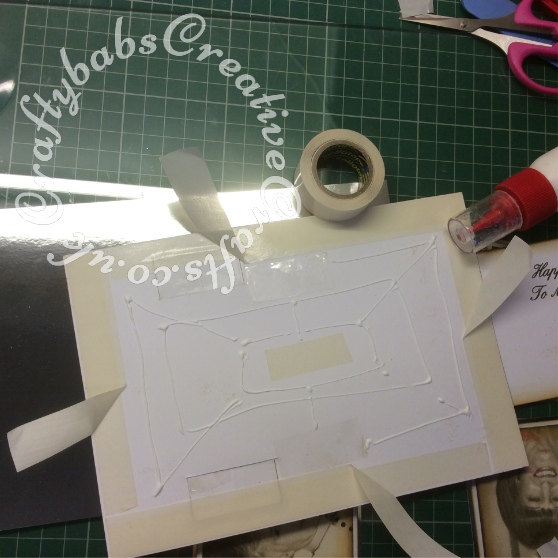
- Glue mats and layers in place (I use strong double sided tape to fix layers onto mirror card as they sometimes pop off when I used glue).

Step 7.
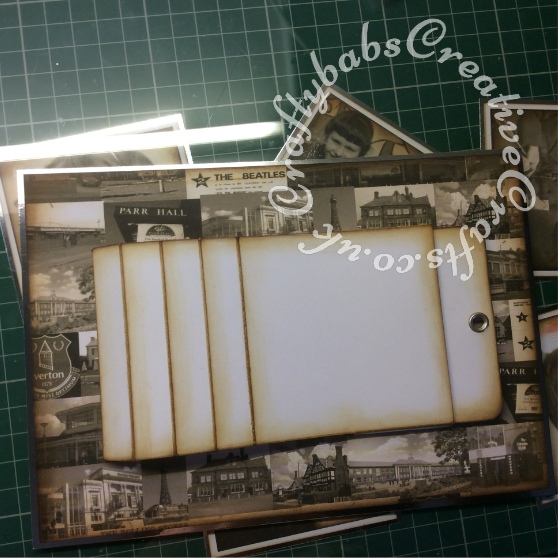
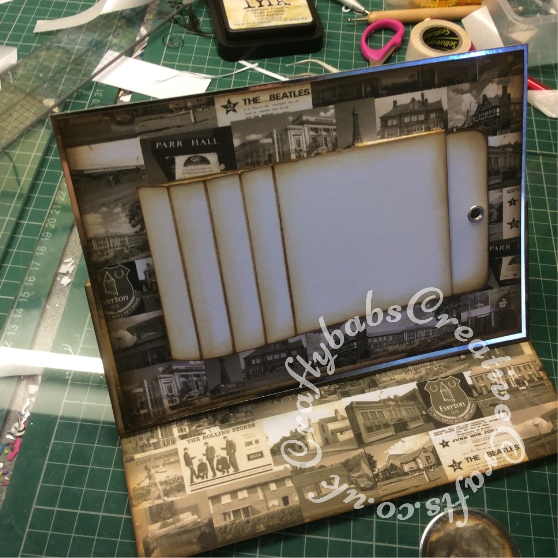
- Fold your mechanism in half and position centrally on your card front topper.
- Using the tabs as a guide, mark in pencil and then cut a slot at the top and bottom of the card front to slide mechanism tabs into. (these should be roughly 8cm apart). The tip of the scalpel in the picture below indicates position of slot cut.

Step 8.
This my own take on how to attach a waterfall mechanism rather than the more common method of using brads which I feel is quite flimsy and detracts from what is otherwise a magical concept. My way gives a more sturdy, robust card which will stand up to the undoubtedly large amount of ‘playing with’ that these cards get.
- Slide tabs through slots and if it protrudes beyond the edge of the topper, trim.
- Glue tabs in place on the reverse side of your topper (see pictures below).
- Attach topper to mirror board mat layer securely, I use strong double sided tape and glue.
- Using eyelet setter, insert an eyelet in the centre of the tab of your mechanism.
Step 9.
- Glue card front into place on base card making sure to apply glue to bottom half only to allow card front to fold.
Step 10.
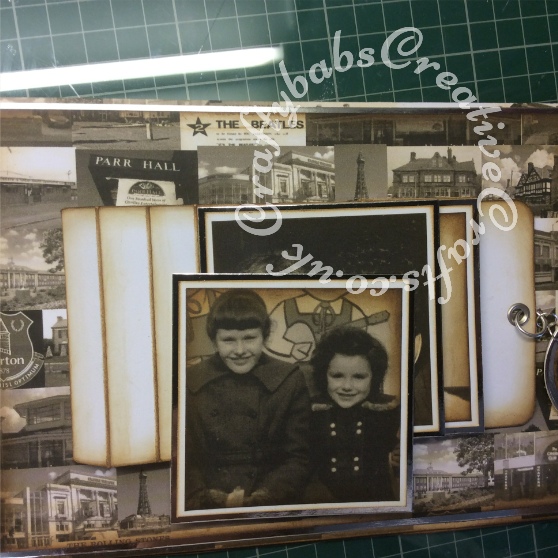
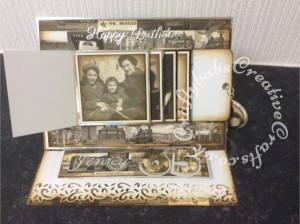
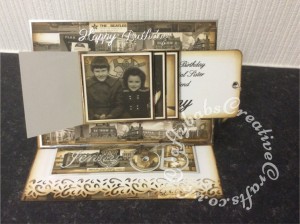
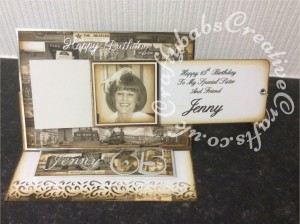
- Starting with the first of your 5 images/photographs, glue this in place at far right of mechanism (this is the only photo that is completely glued on all sides, subsequent ones are only glued down the left side to allow the mechanism to work, this first picture is the last one to be seen when the mechanism is pulled,).
- Add the remaining photographs in reverse order, one at a time, gluing only in the section as shown. The last picture to be attached with be the first one to be seen.

Step 11.
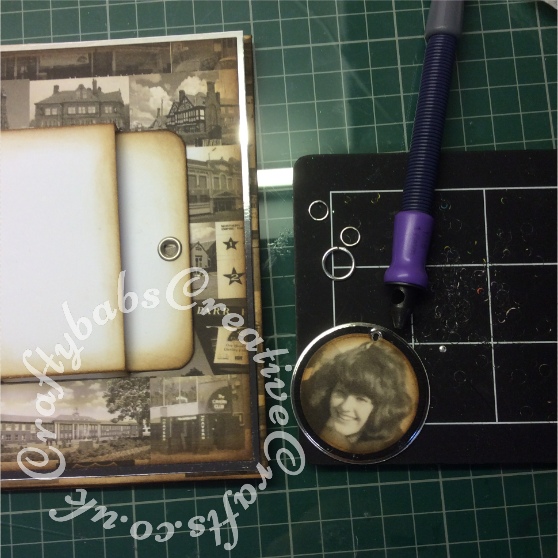
- Using a piercing tool, pierce a hole in the circular pull tab. Using 3 jump rings, attach pull tab to mechanism as shown in pictures below.
Step 12.
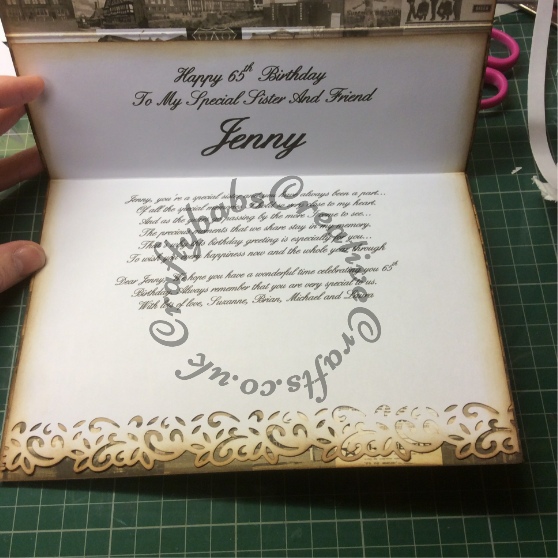
- Print and trim your insert, trimming so that it is slightly narrower than your card base and the top half is slightly shorter than the inside bottom half of the card front (see picture).
- Note – if printing insert, be sure to leave enough space at the bottom to allow for attaching the stopper.
- If desired, punch a decorative edge on the bottom of your insert and ink the edges.
- Attach insert to card base.
Step 13.
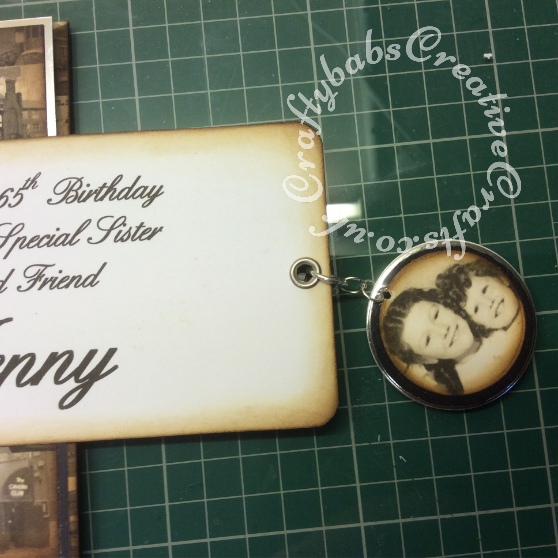
- Make a Stopper for the card front using a matching piece of card, inked and matted on silver mirror card and mount onto foam tape (I applied 2 layers of foam tape for added depth).
- Add desired greeting/embellishment and then fix stopper in place inside card, positioning so that the card will stand up in desired position.

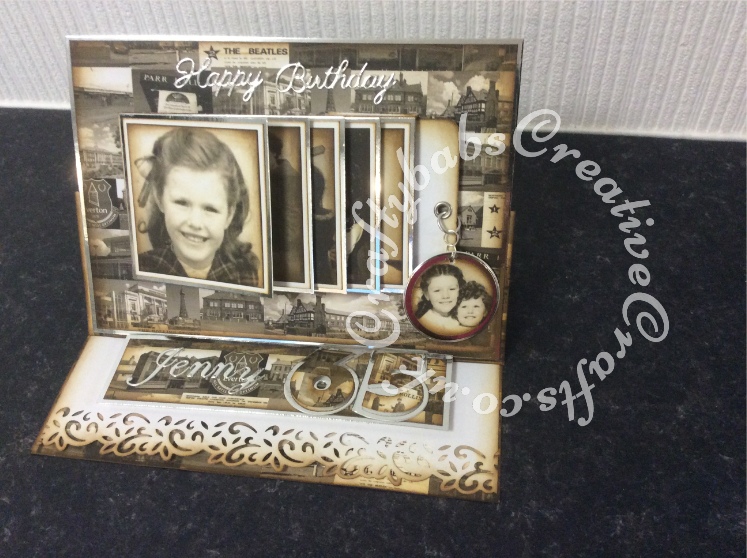
- And there you have it, a fabulous conversation piece with a hidden message that will be played with by all who see it.
- As the tab is pulled, the pictures flip over one by one revealing the hidden message.
- The card folds flat for posting.
- Be warned though, this is a heavy thick card when completed and will need to be posted large letter rate.
- If you’ve enjoyed this tutorial, why not leave me a comment, or you have any questions, please feel free to ask.

I really love love love your card. It’s fabulous. Do you have a live youtube tutorial I can watch to do this please.
Many thanks Carmen
Hi Carmen, thanks for the lovely comment. I don’t have live or video tutorials at the moment. Just the step by step ones with photographs and written instructions.
Kind Regards,
Babs